ESPRESSO SKILLS · PUCK PREP · BARISTA GUIDE
How to Tamp Espresso for Even, Repeatable Shots
Use one simple method every time: dose consistently, distribute before compression, stabilize the portafilter, align the tamper while it is unloaded, press vertically until the bed is fully compacted, release, then lift straight. The priority is levelness and repeatability—not a fixed pressure number or a polished surface.
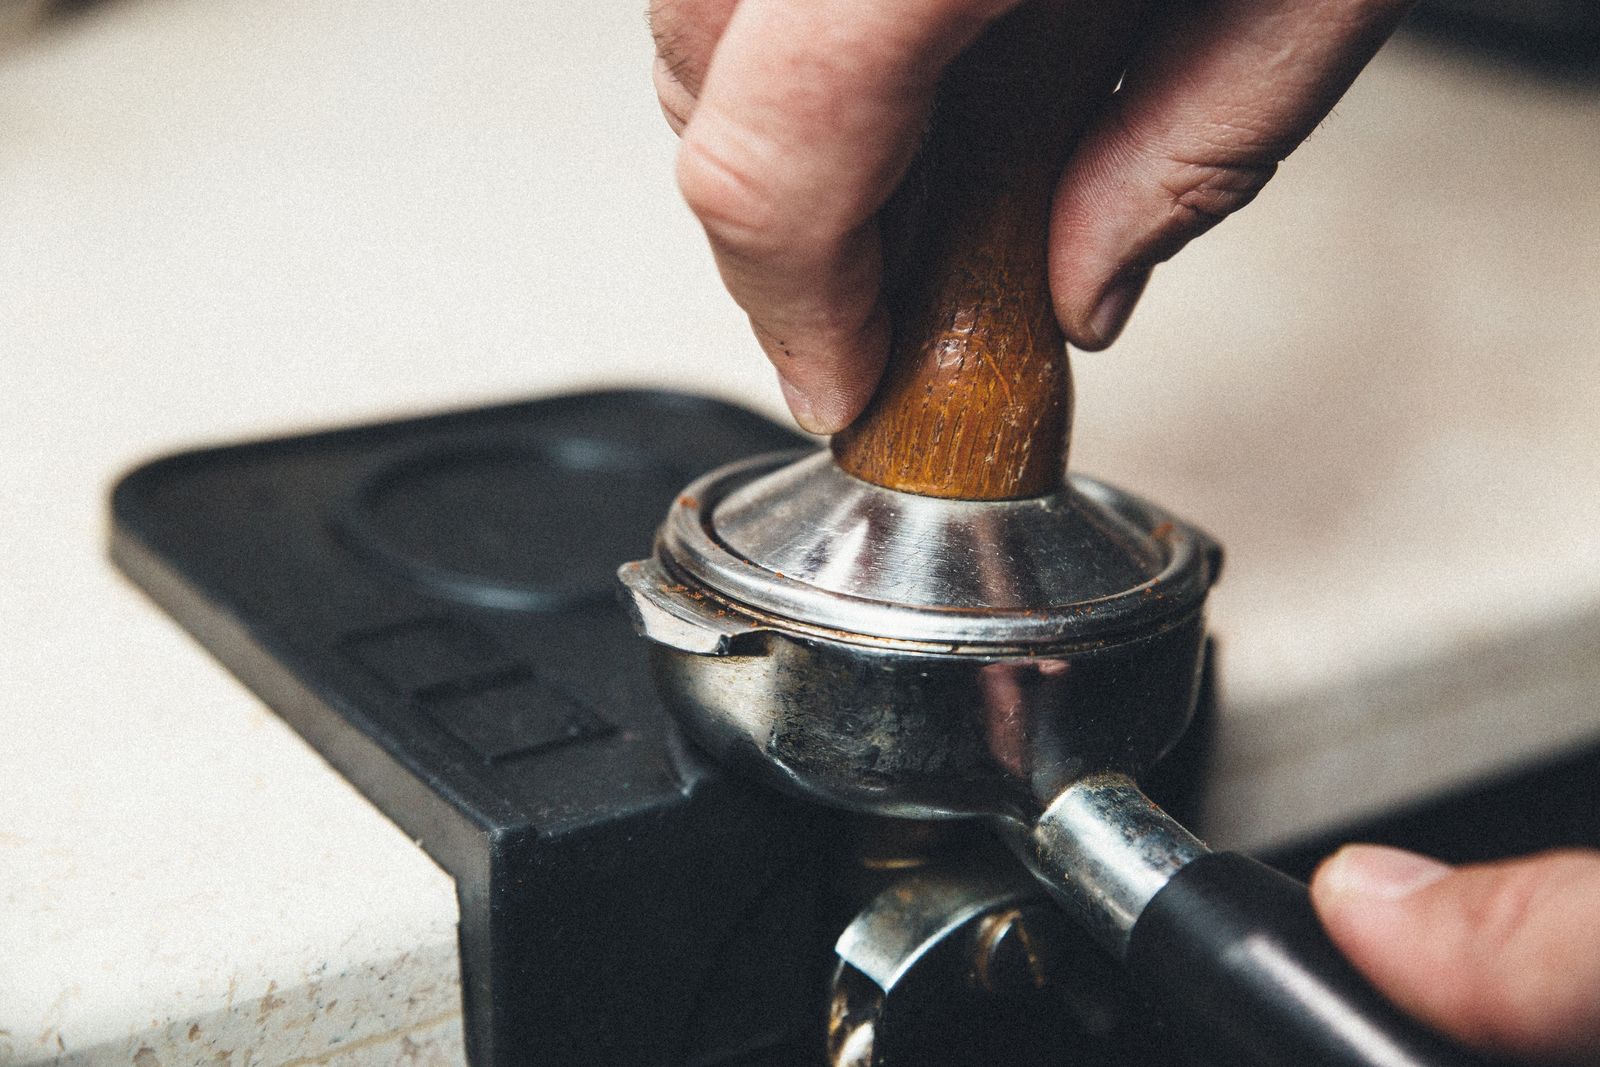
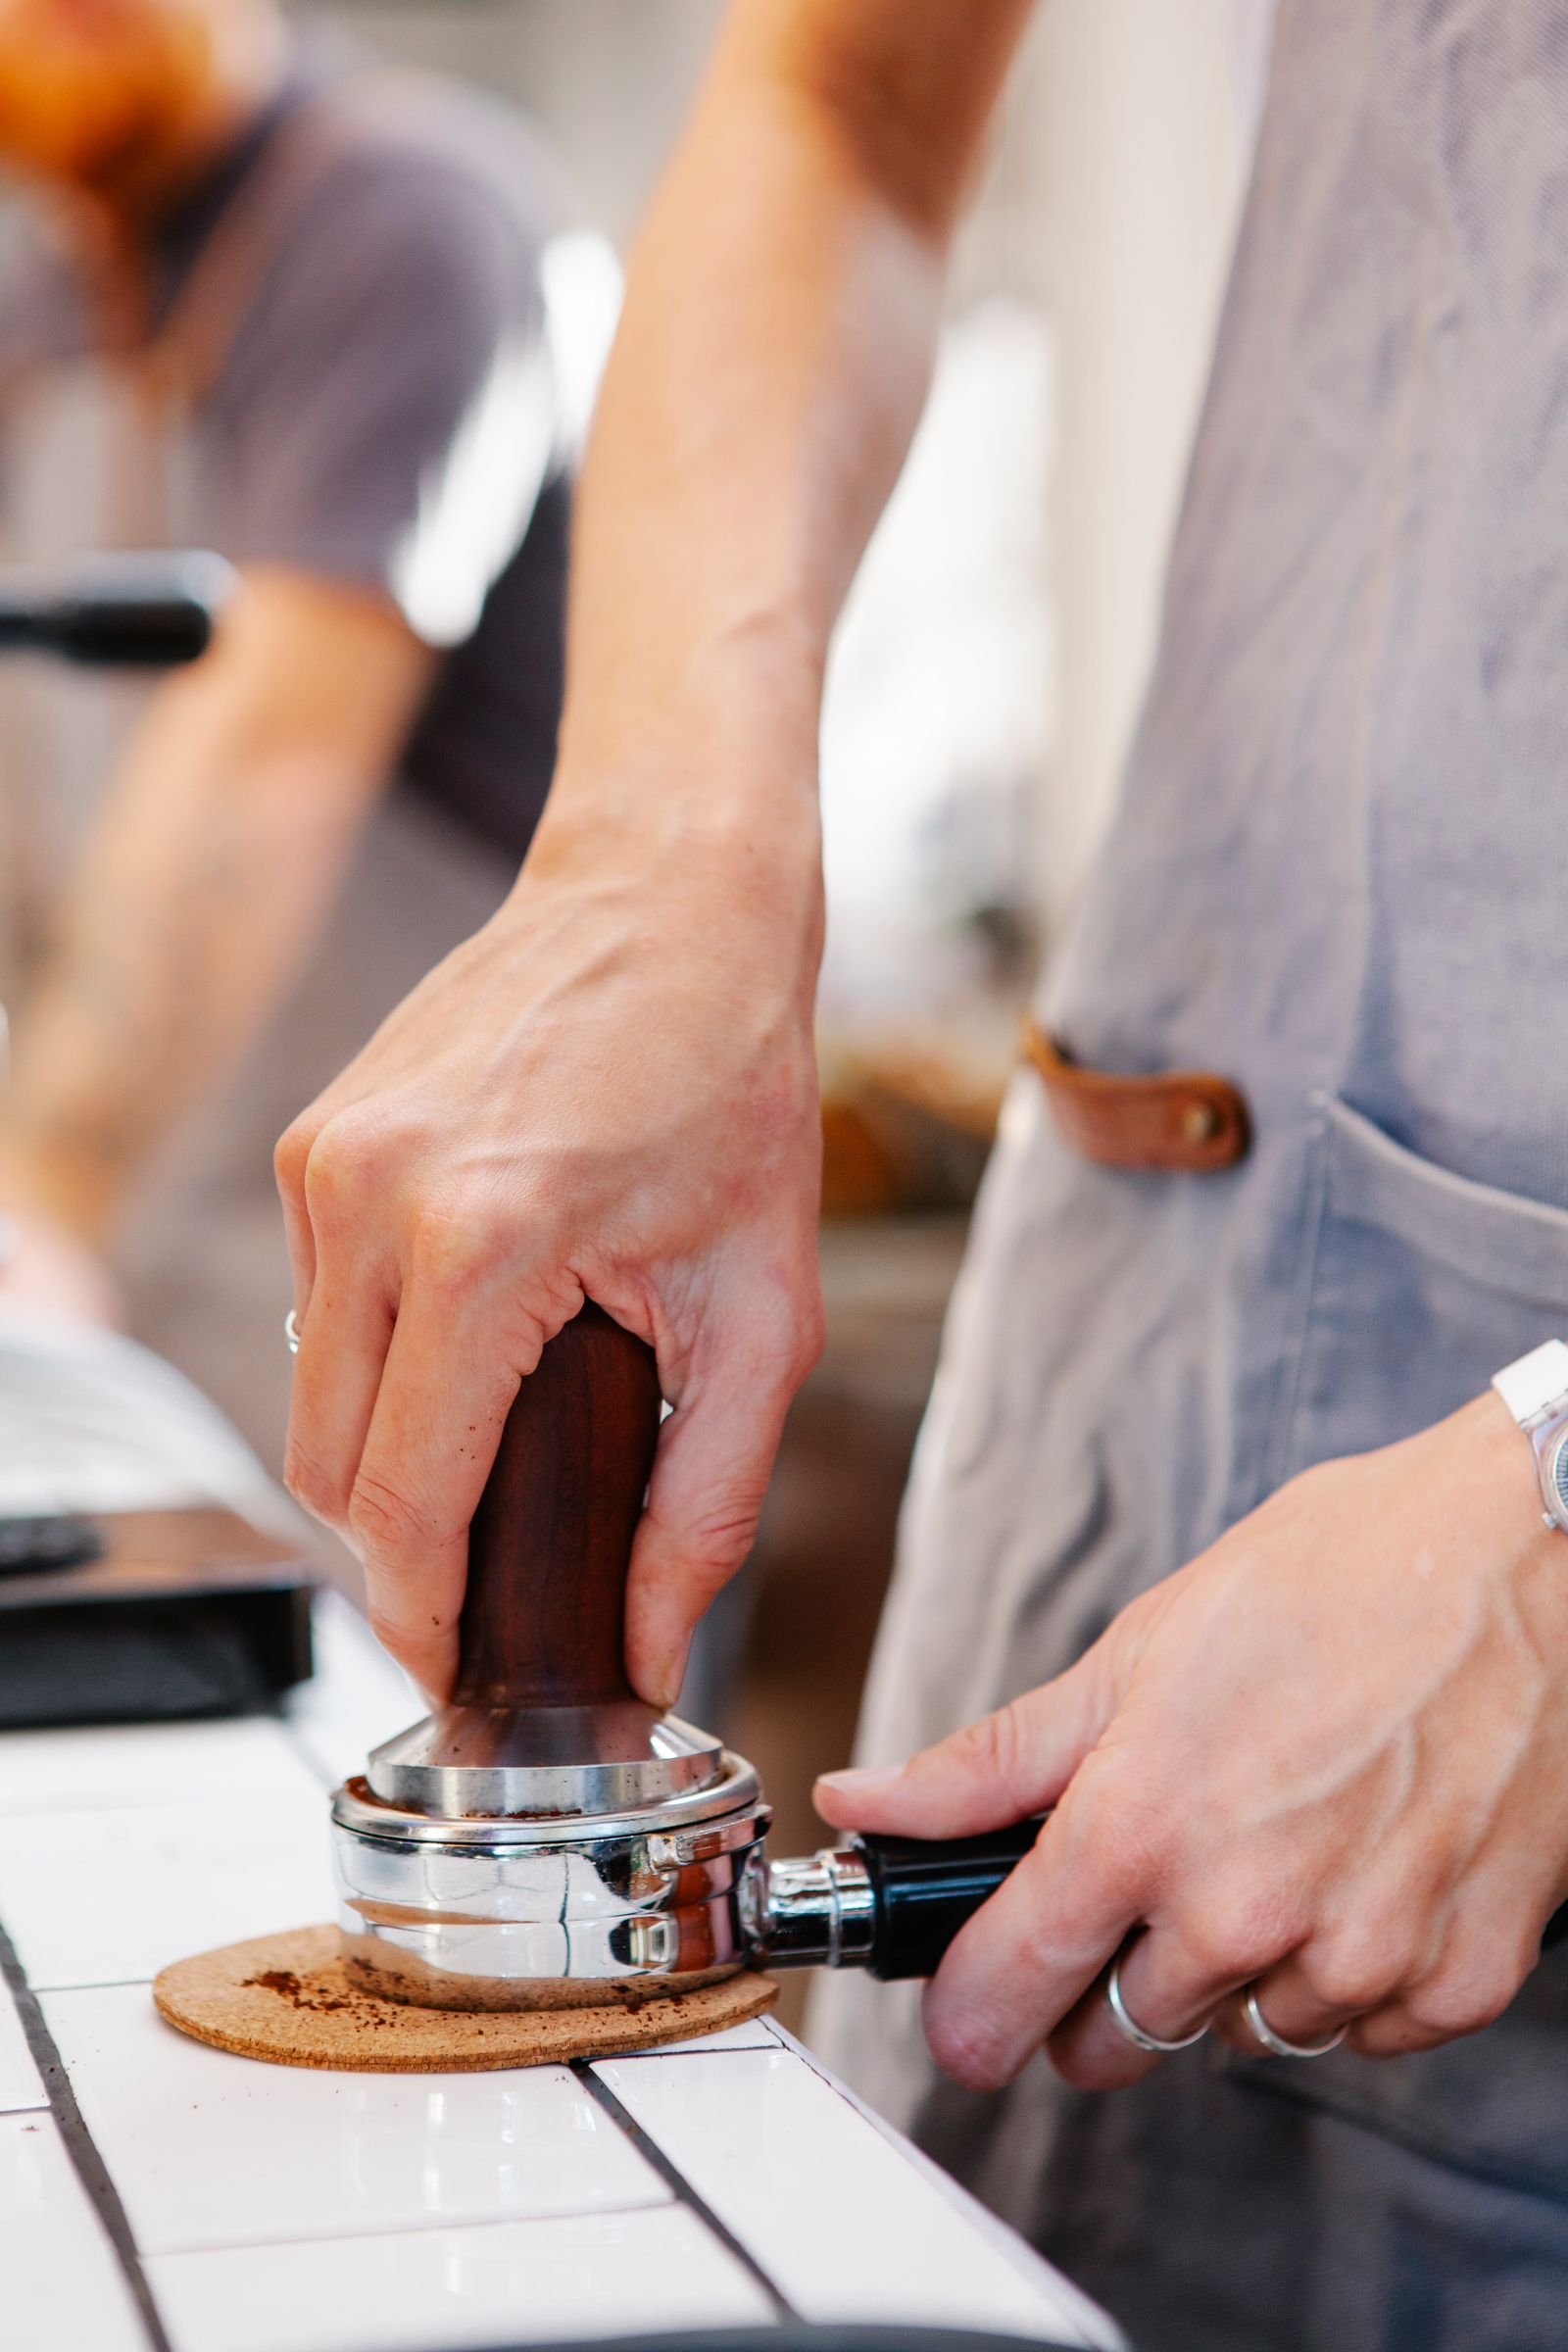
Quick answer: tamp once, level and straight
Tamping matters because it turns loose coffee into a stable puck that presents predictable resistance to brewing water. It cannot, however, make an uneven dose internally uniform. Clumps, a tilted loose bed, an unsuitable basket, poor grind selection and later puck disturbance can all remain after the tamper is lifted. The practical goal is a repeatable process with fewer variables, not a contest for maximum pressure.
- Distribute before tamping; the tamper primarily compresses the arrangement already in the basket.
- Check alignment before applying force. Straight entry matters more than correcting a tilt afterward.
- Use one complete press and a vertical lift; avoid rocking, twisting under pressure or post-tamp tapping.
- Keep the tamper method constant while dialing espresso with grind, dose, yield and recipe data.
- Choose a base for the actual basket inner diameter at working depth—not the portafilter’s nominal label alone.
- Use bottomless flow and spent-puck appearance as clues, then confirm with repeated recipe data and taste.
| Action | Primary purpose | What it cannot prove |
|---|---|---|
| Dose | Sets coffee mass and starting puck height for a recipe | That the coffee is evenly distributed |
| Distribution / WDT | Reduces mounds, clumps and density differences before compaction | That the final puck is level |
| Tamping | Creates a fully compacted, level final surface | That there are no clumps or density differences beneath the surface |
| Rim cleaning & lock-in | Protects gasket sealing and avoids disturbing the prepared puck | That grind, dose or extraction settings are correct |
What tamping is supposed to do
Espresso water is pushed through a shallow bed of finely ground coffee. The tamp consolidates loose grounds into a coherent puck, establishes the final surface angle and helps the basket hold that bed steady during brewing. De’Longhi describes tamping as compacting ground coffee before brewing and emphasizes a firm, even motion perpendicular to the filter without unnecessary force. That is useful operational guidance, but the correct dose and grind remain recipe-specific.
Compaction is different from distribution
Before tamping, a grinder can leave a mound, crater, clumps or more coffee on one side of the basket. The goal of distribution is reasonably even coffee arrangement across the bed. The goal of tamping is to compact that prepared bed. Pressing a visibly uneven mound can create a flat-looking top while retaining uneven density below it. Fix the bed before pressure rather than asking the tamper to move coffee sideways.
Why a level puck matters
A puck should begin with broadly similar thickness across the basket. If the surface is visibly lower on one side, water may encounter a shorter path and a different density pattern. Yet a level top is not a density map: particle size, fines, clumps, grinder output and basket geometry influence the interior that the tamper compresses.
Barista Hustle emphasizes straight entry, not merely a level-looking finish. Tilting after partial compression can rearrange particles and create areas of tighter packing. It is better to pause and align before the press than to steer a loaded tamper afterward.
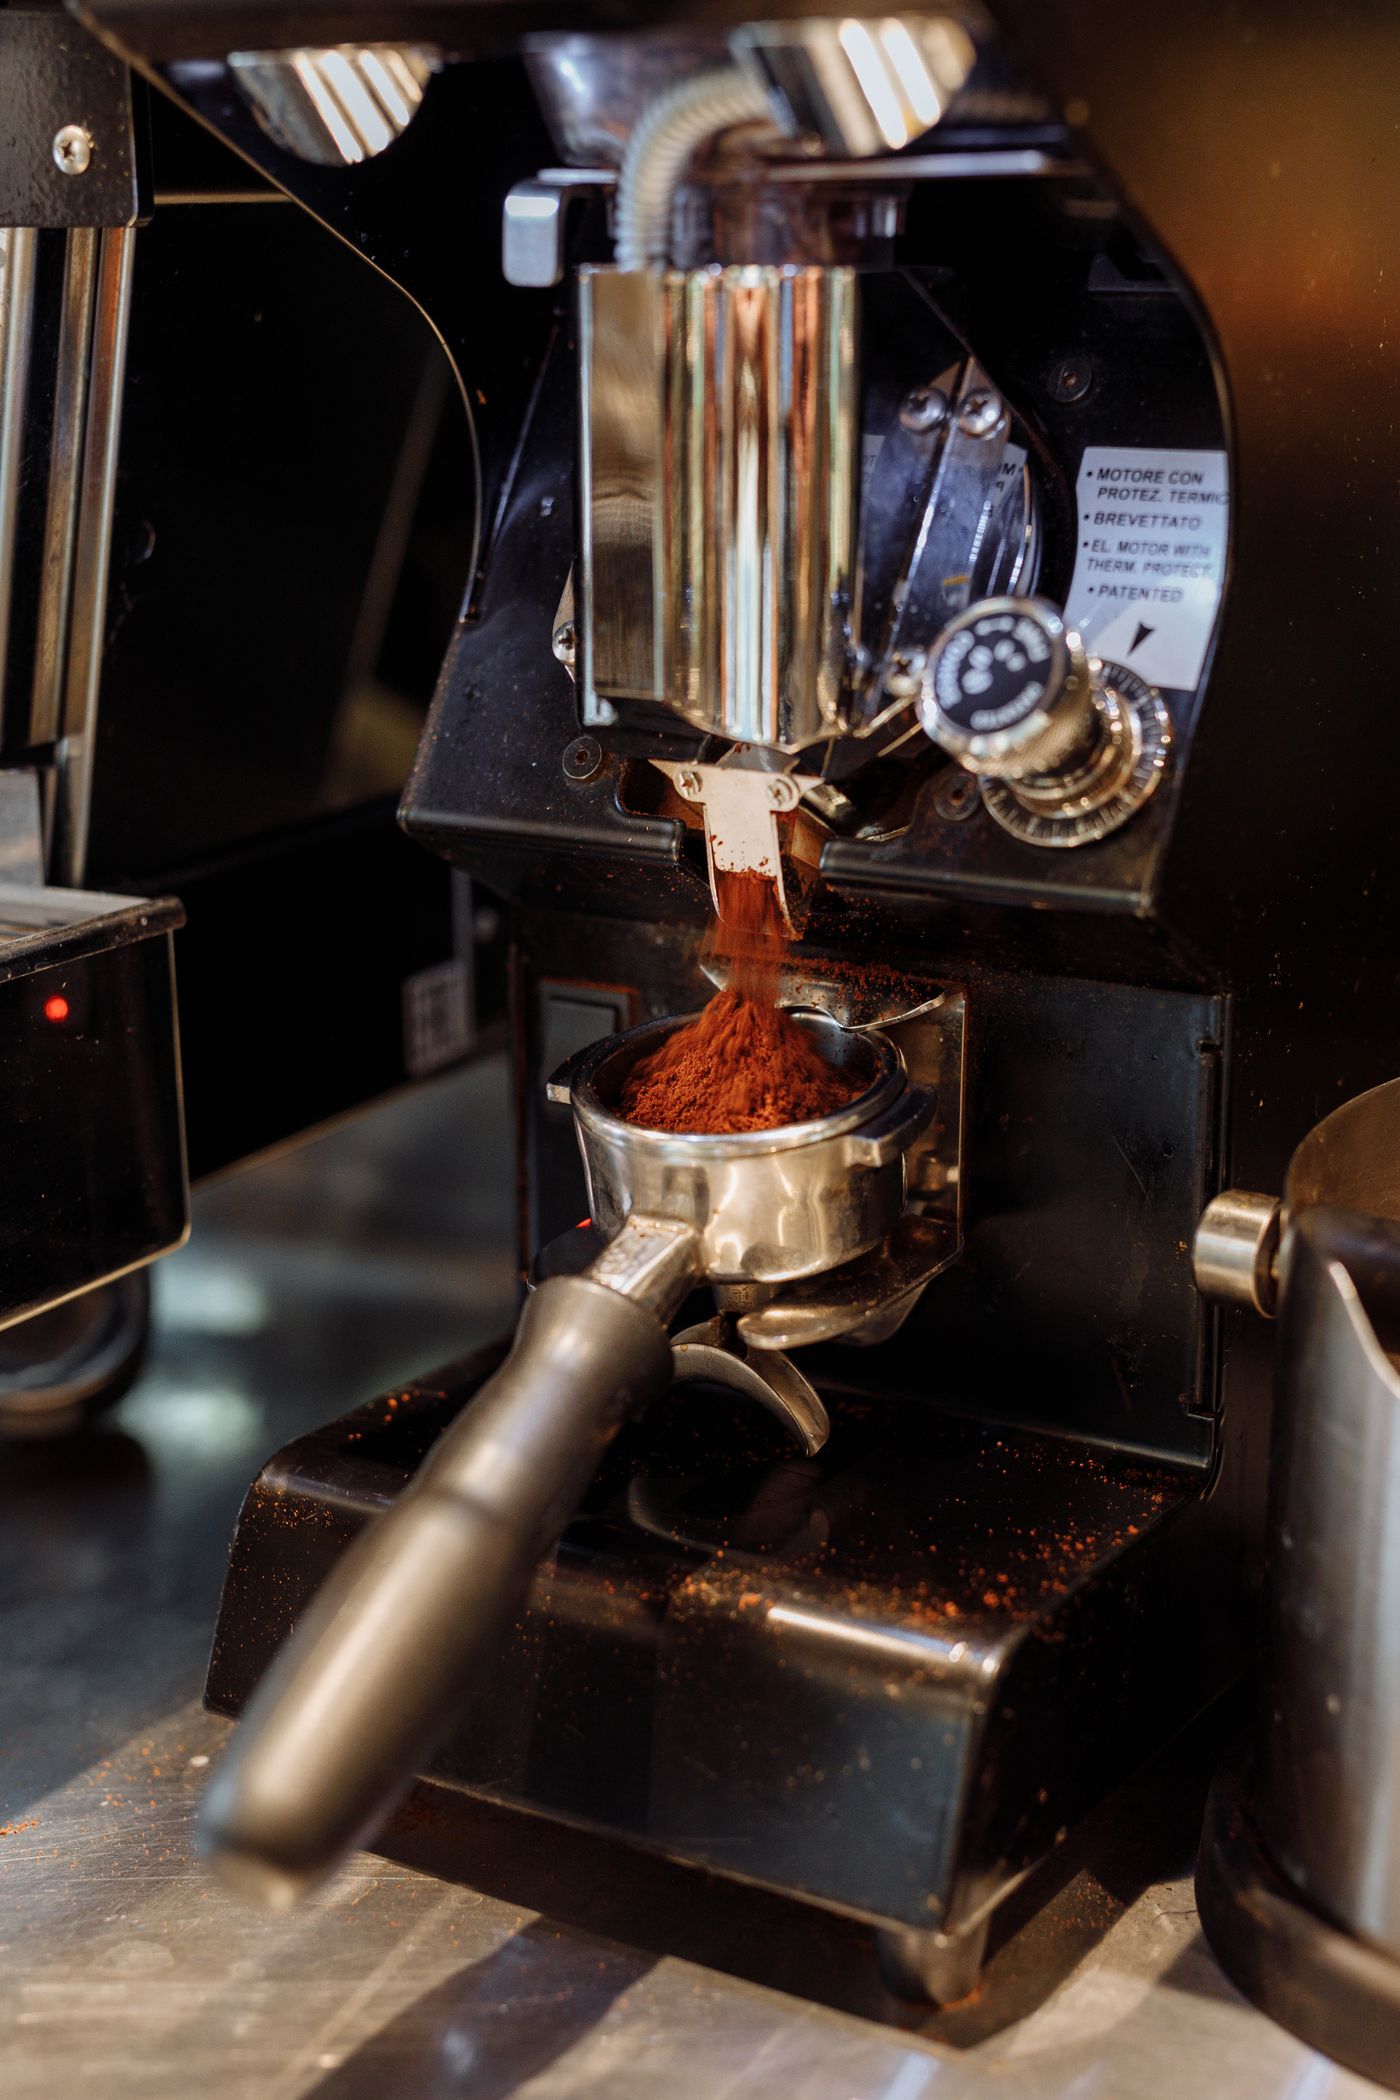
The 8-step espresso tamping method
Use this sequence unchanged long enough to learn whether it is working. It works for home practice and can become the observable core of a café training procedure.
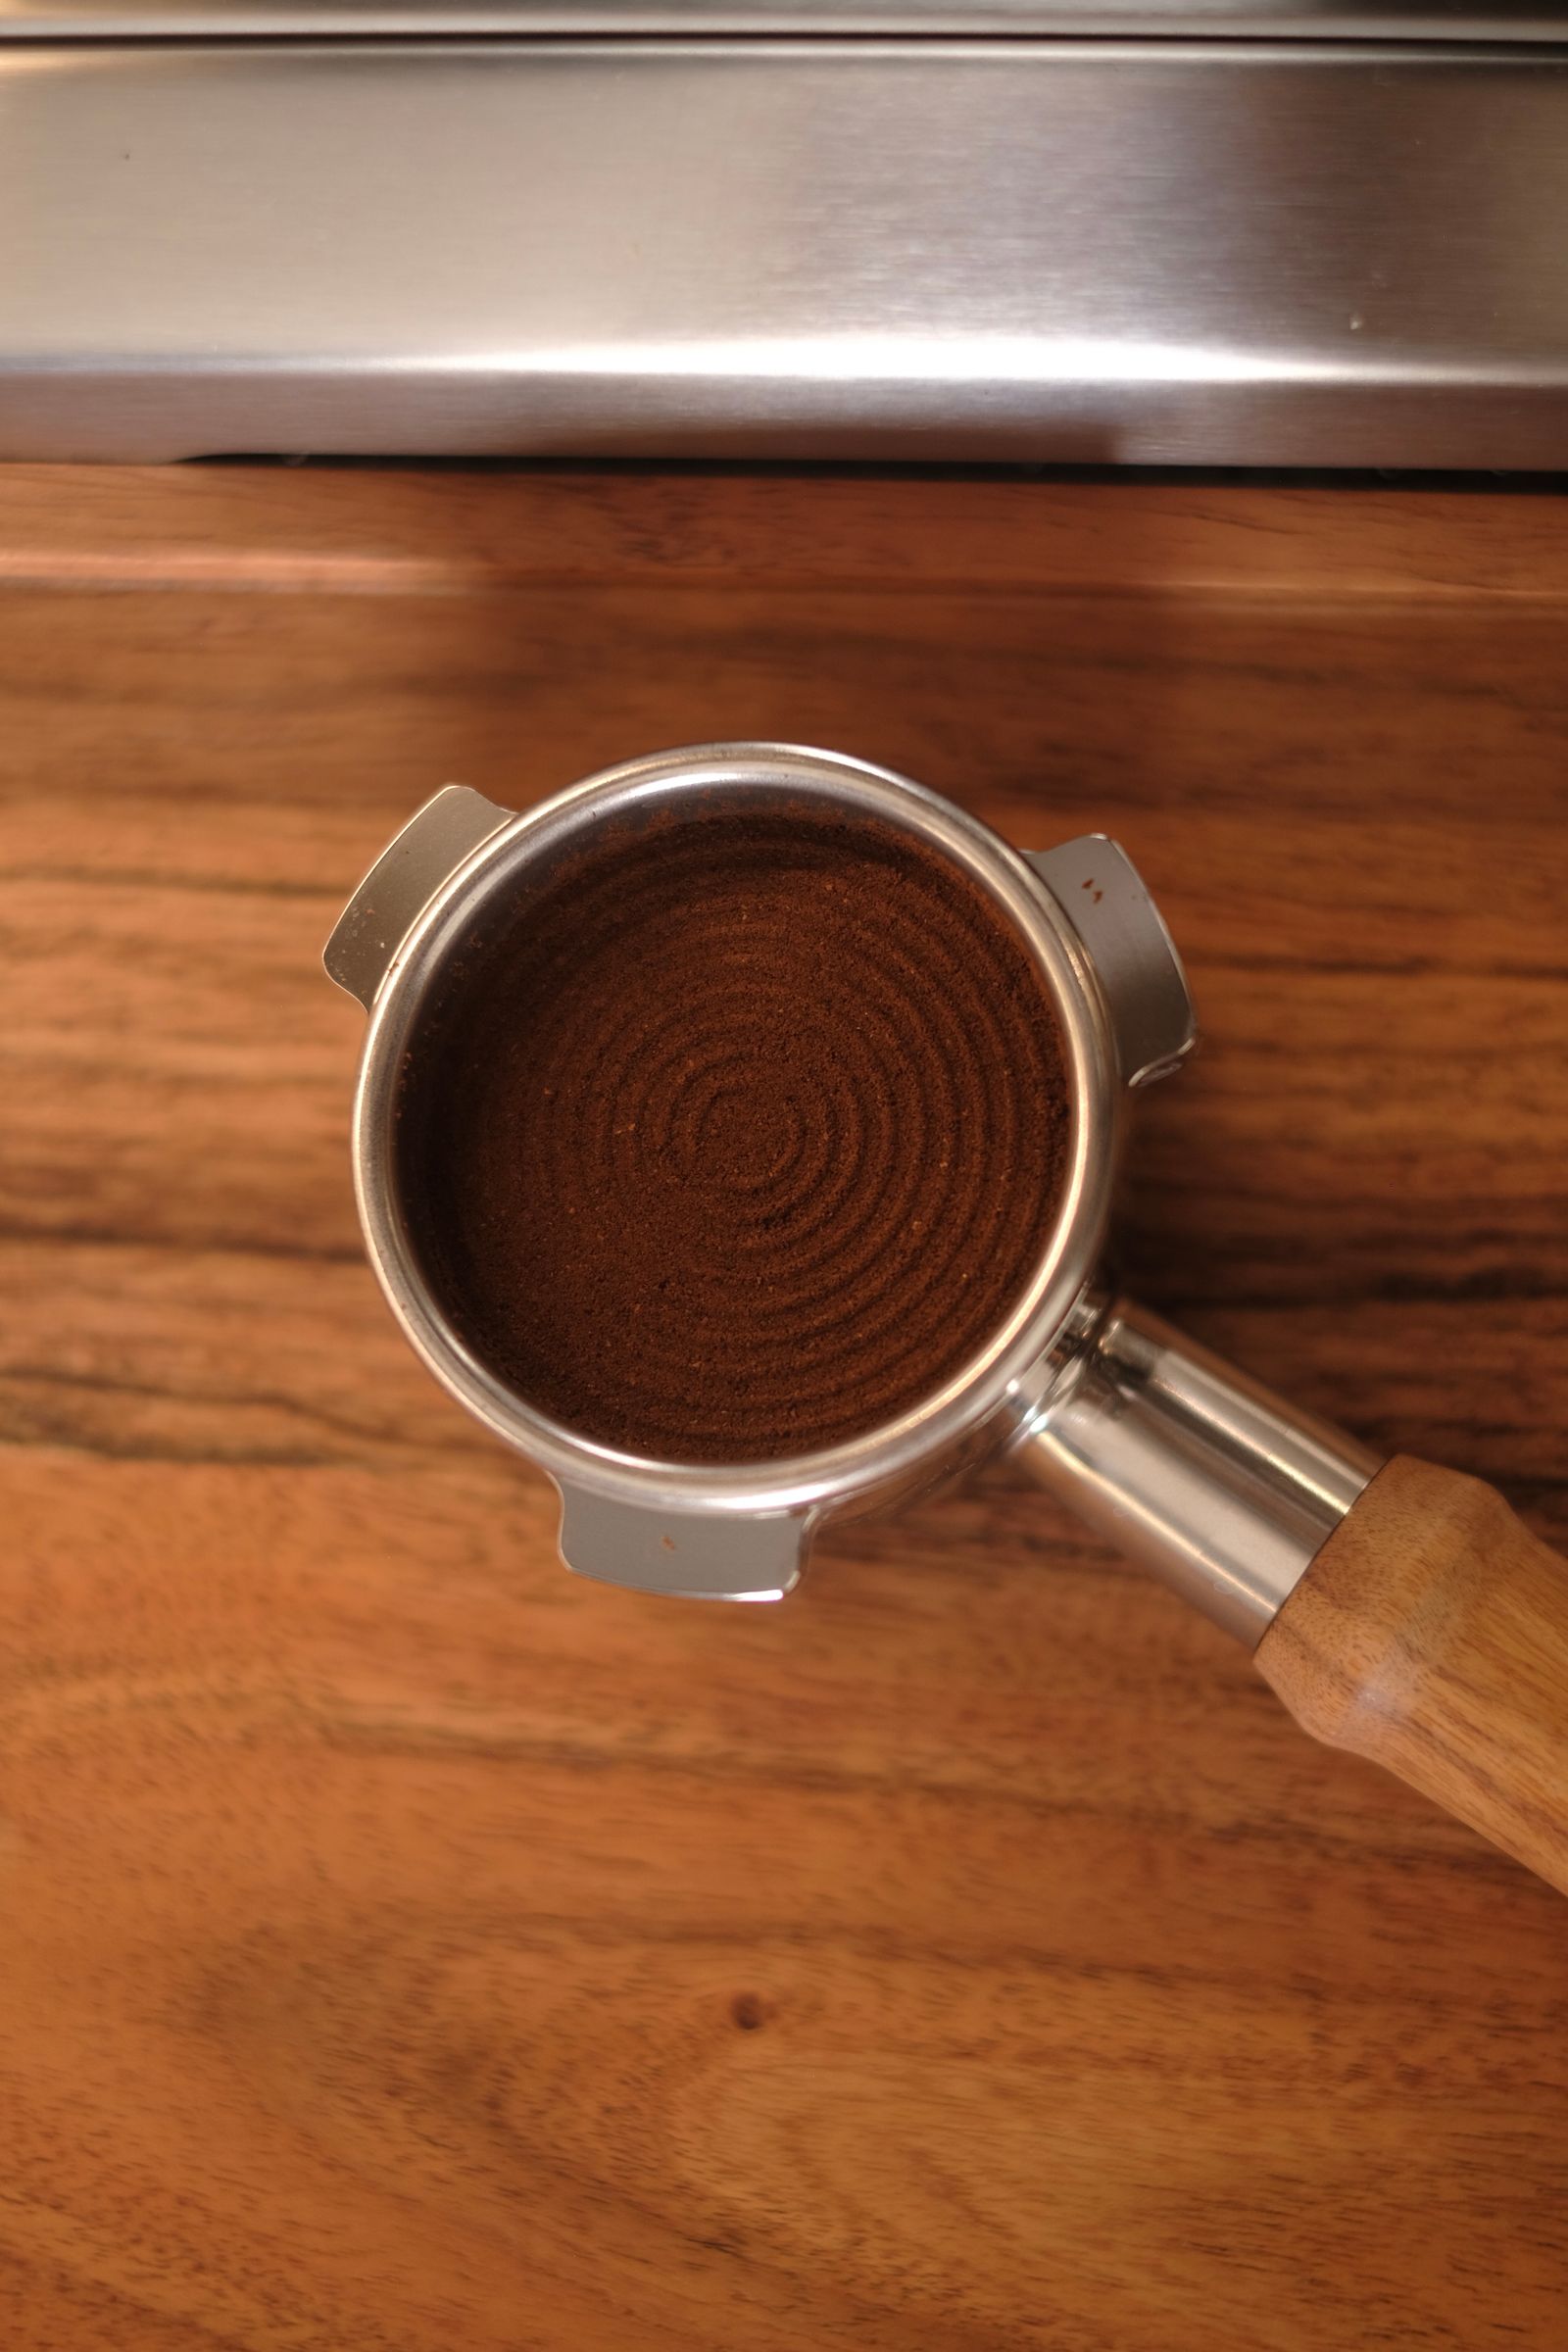
How hard should you tamp espresso?
Tamp smoothly until the coffee is fully compacted, then stop. The often-repeated goal of reproducing one exact pressure number is less useful than a level entry and a complete, repeatable endpoint. Once particles reach a stable packed state, more force produces little additional movement and does not repair poor distribution.
A 2017 Technical University of Munich study varied particle sizes and tamping pressures in a commercial-machine experiment. Particle size affected the recorded extraction kinetics, while tamping pressure had no detectable effect under those tested conditions. This does not make pressure irrelevant in every machine, basket or workflow; it is a useful reason not to use a universal force target as the main dial-in variable.
Use force for compaction
Choose a comfortable, repeatable press that completes the bed cleanly. A scale can be a one-time training aid, not a ritual for every shot.
Use grind for flow
If the shot is too fast or slow, keep the tamp complete and level, then adjust grind while holding other recipe inputs stable.
Use tools as cues
Calibrated, spring-loaded or self-leveling tampers can guide technique; none can compensate for poor dose, distribution or basket fit.
For a dedicated explanation of force claims and technique, see Coffmach’s coffee tamping pressure guide.
Levelness, channeling and what to change first
Do not use tamp pressure to dial in shot time
When espresso flows too quickly or slowly, hold a complete, level tamp constant and adjust the grinder according to the coffee, dose, yield, machine and taste. Changing grind and tamp pressure together hides cause and effect. Current extraction research likewise treats particle size, coffee mass and puck structure as important contributors to hydraulic resistance and flow.
Channeling has more than one cause
Uneven tamping can contribute to uneven flow, but spraying or early local streams can also arise from clumps, poor distribution, basket damage, unsuitable grind, puck cracks, headspace, water distribution or movement after tamping. A bottomless portafilter is a helpful diagnostic view, not a complete quality score; a spent puck can crack during depressurization or removal. Combine visual clues with dose, beverage yield, extraction time, repeated flow and taste.
| Symptom | Check first | Do not assume |
|---|---|---|
| Shot runs fast | Grind, dose, yield and coffee freshness | That a harder tamp is the primary correction |
| Puck appears tilted | Portafilter support, loose-bed distribution, straight entry and rim gap | That a second tamp will restore even density |
| Early jetting/spraying | Clumps, distribution, basket condition, grind and puck damage | That the tamp alone caused channeling |
| Wet or cracked spent puck | Headspace, basket, valve design, removal timing and recipe | That tamping was automatically wrong |
| Coffee sticks to the tamper | Base cleanliness, dose, puck surface and vertical removal | That twisting under pressure is the solution |
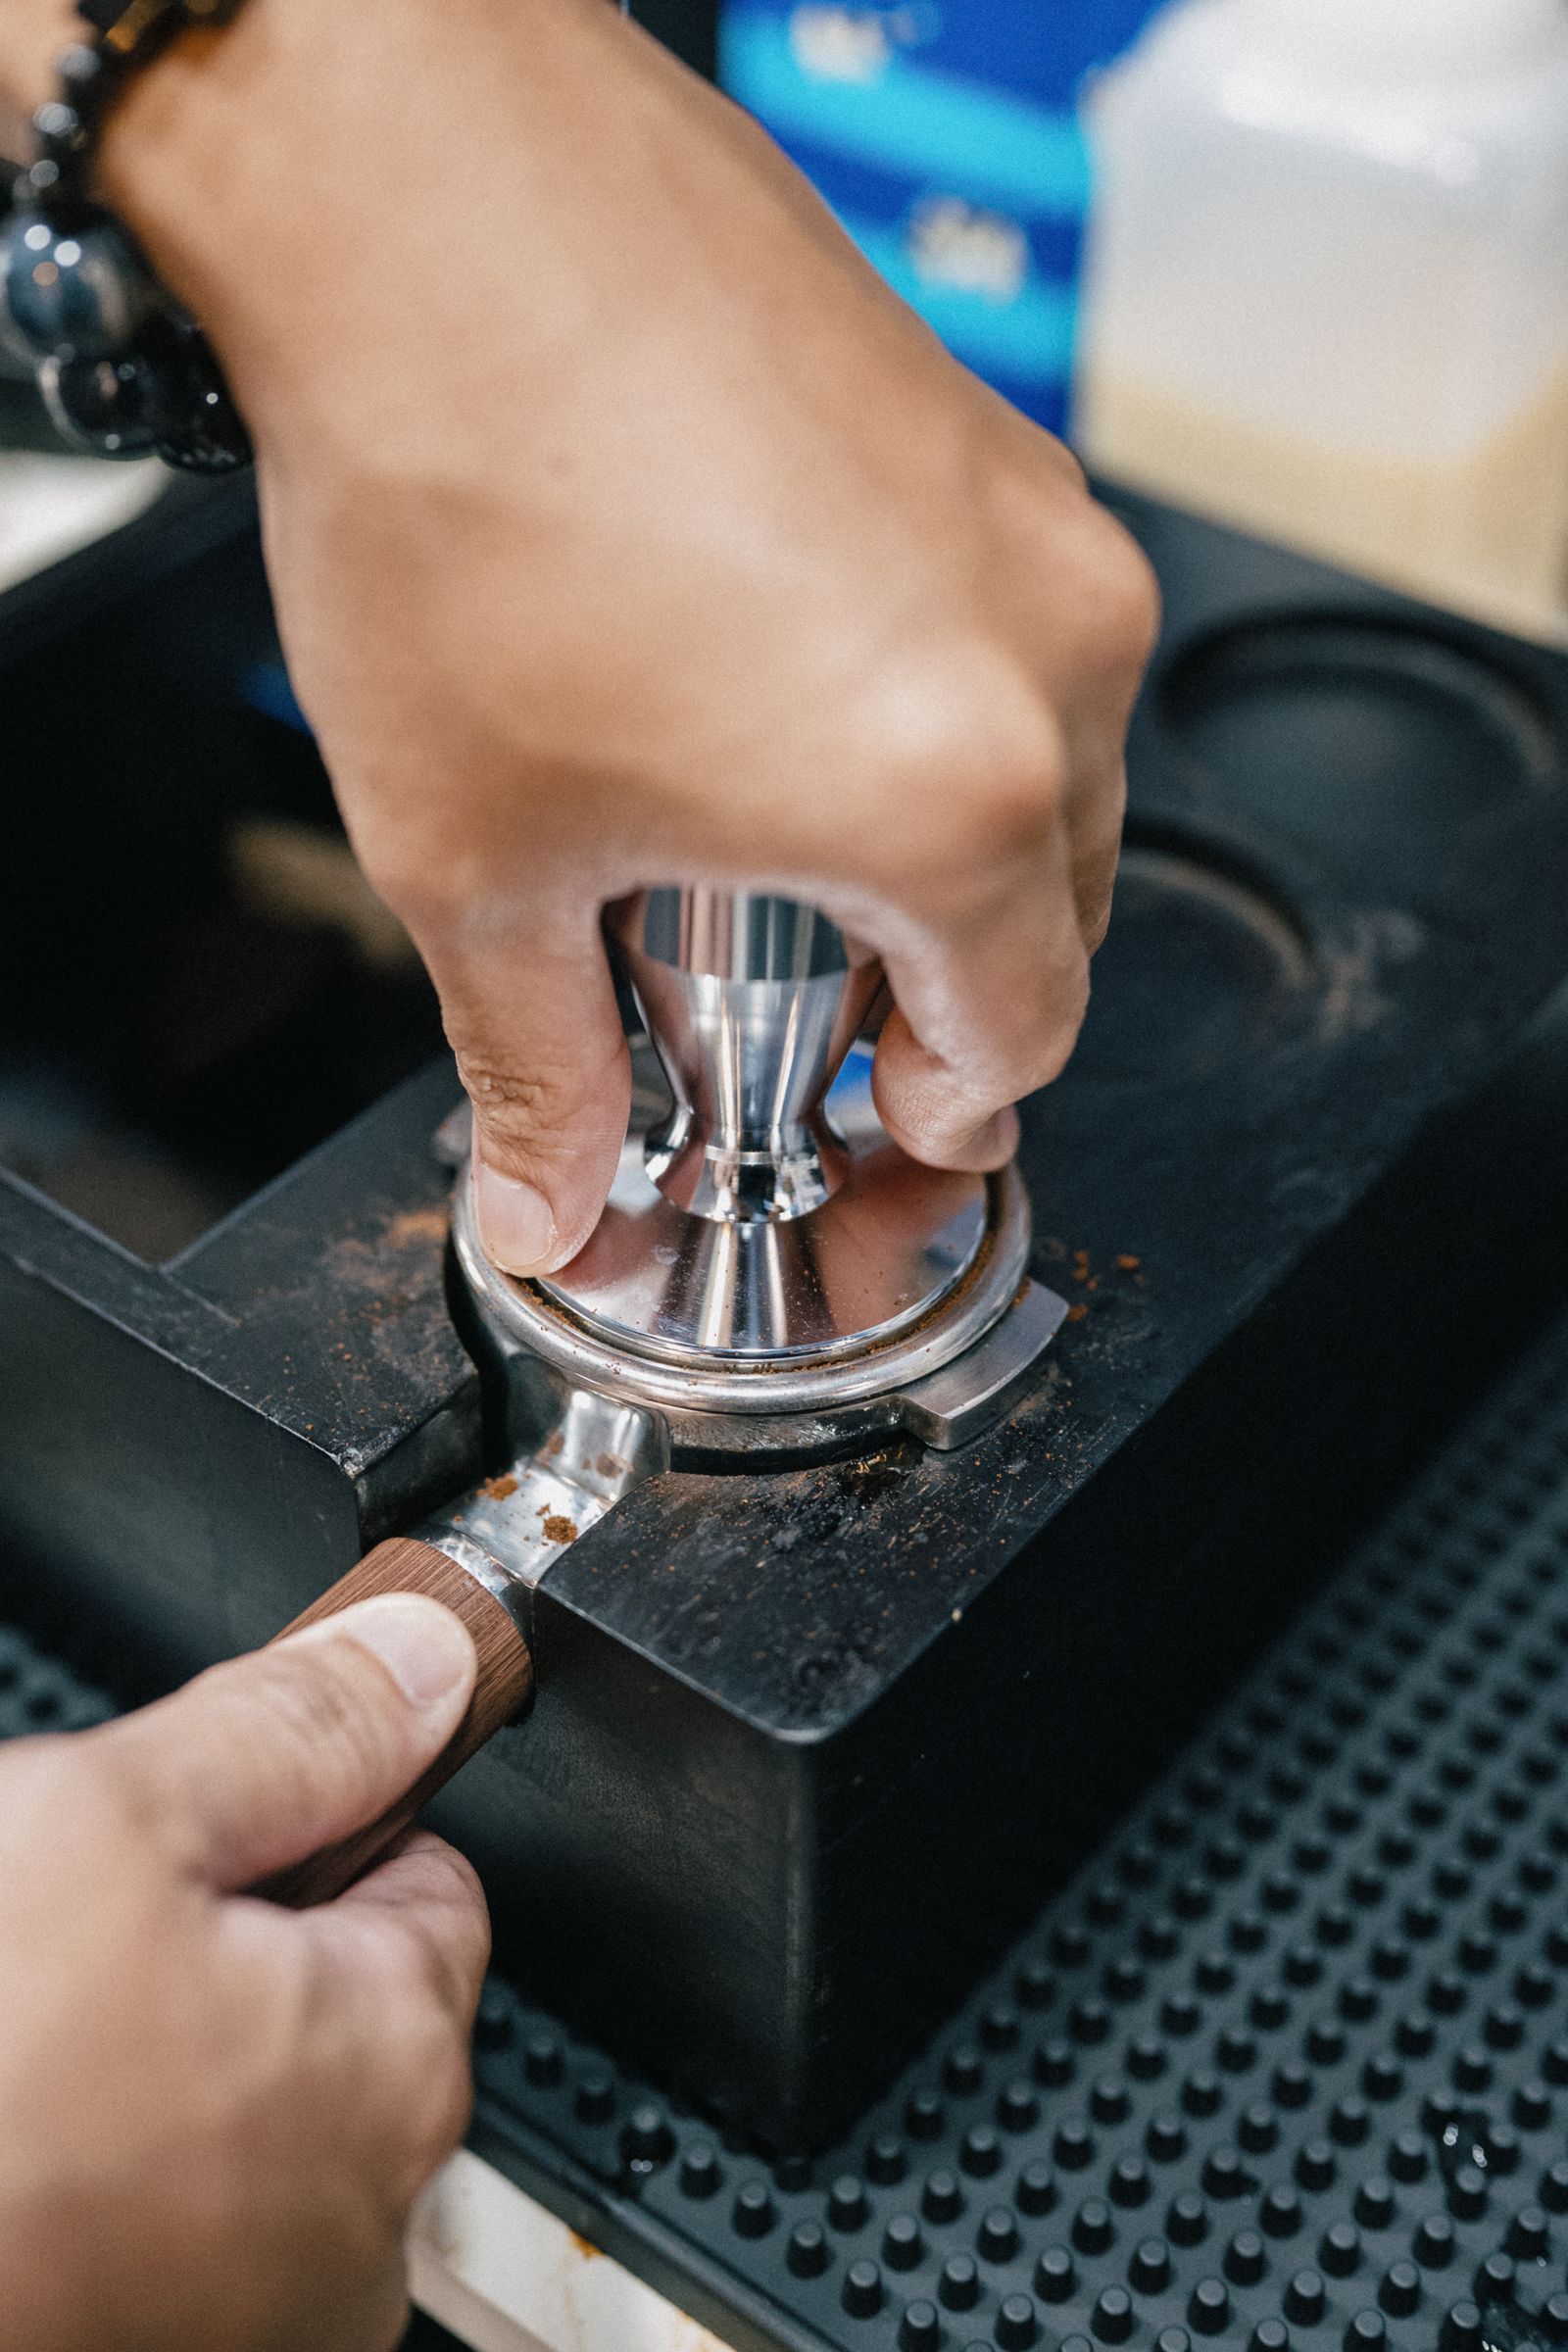
Choose the right tamper size and style
The right base is the largest practical size that reaches the intended puck depth without rubbing or binding. Do not buy from the nominal portafilter number alone. Baskets with a similar stated diameter can differ internally because of wall shape, ridge, coating, taper and manufacturing variation.
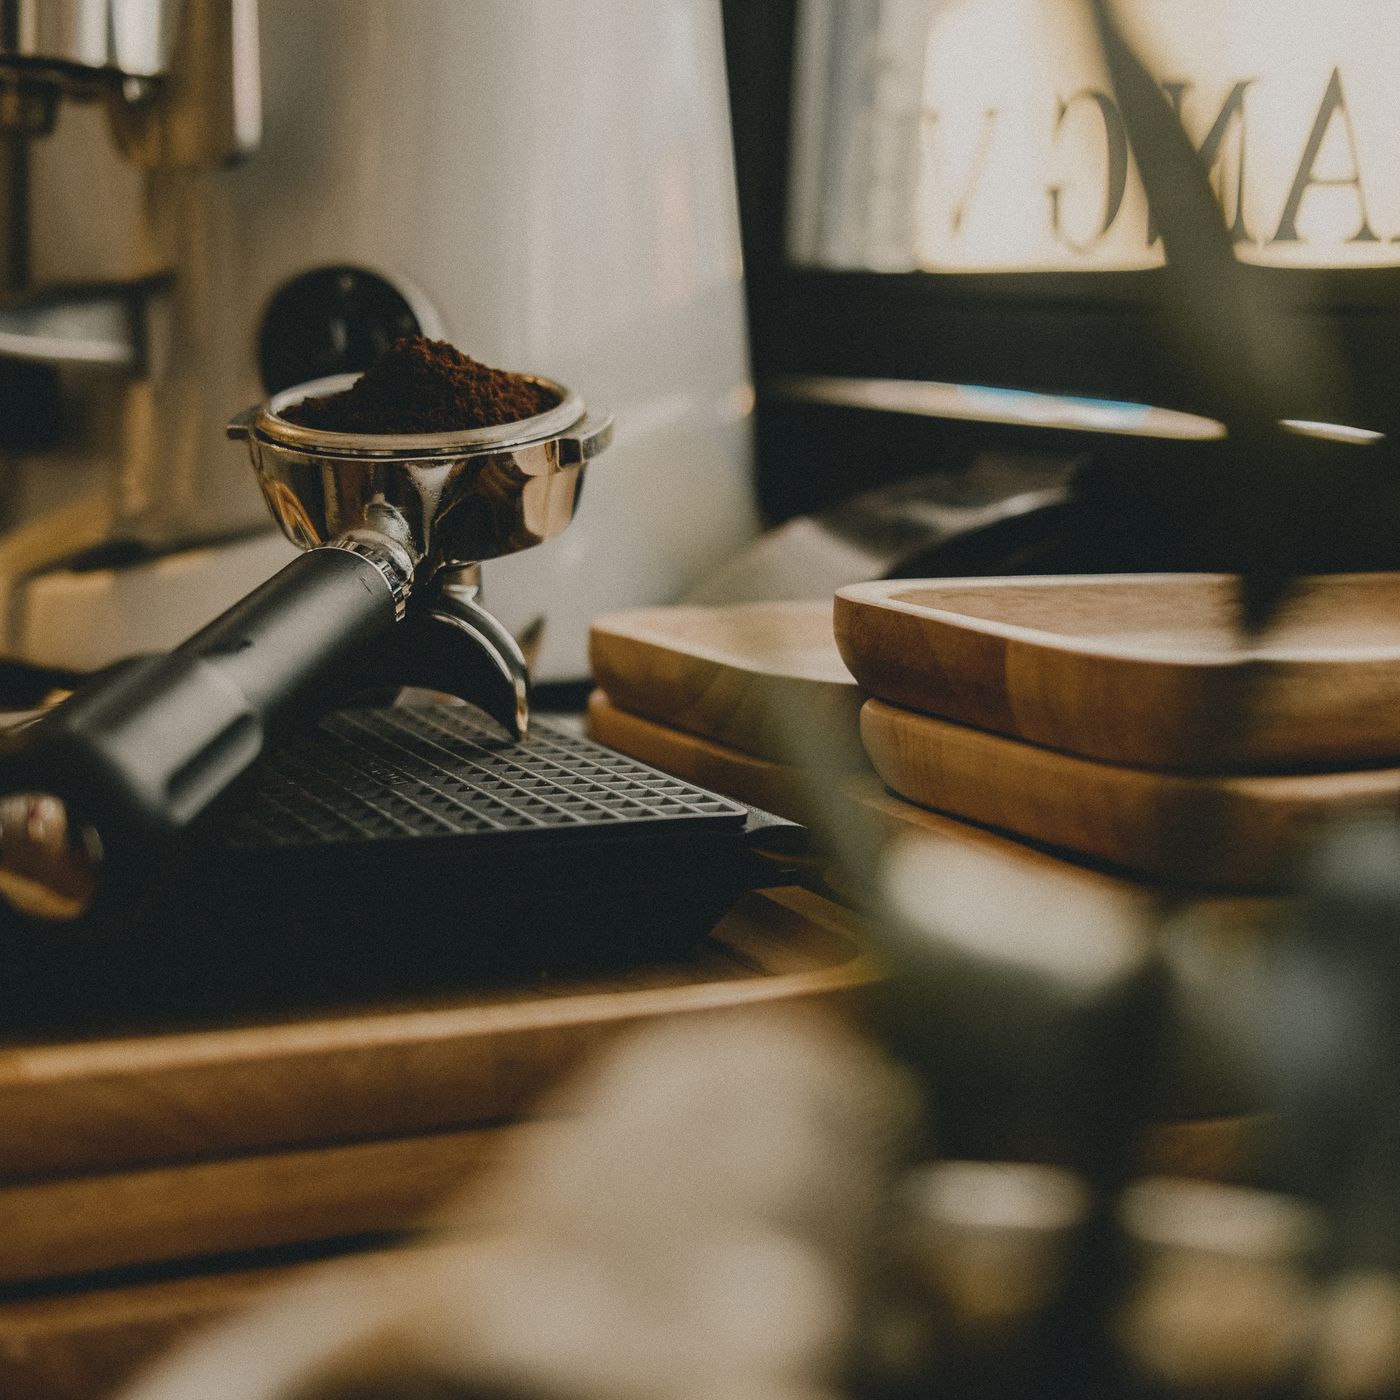
How to test basket fit
- Clean the basket and base, then verify the maker’s guidance or measure representative baskets.
- Insert the base without coffee and confirm it enters straight without scraping the upper wall.
- Test the low and high approved dose range because a tapered basket narrows at greater depth.
- Prepare several shots and inspect for an excessive edge gap, binding, suction or coffee lifted during removal.
- Repeat the check whenever baskets, portafilters, bases or recipes change materially.
Comfort matters too. A peer-reviewed ergonomics study compared a traditional vertical-handle tamper with one flat, handleless design in ten experienced baristas; the alternative design produced more neutral measured postures and lower assessed upper-limb risk under the study procedure. The result is design- and context-specific, but it supports testing grip, station height and posture rather than choosing by appearance alone. Coffmach’s tamper buying guide covers basket fit, base, handle and selection context.
Need a tamper matched to your basket?
Send Coffmach your basket family, measured working diameter, dose range, base profile, preferred handle, finish, packaging and target market for a more useful sample discussion.
Troubleshoot uneven tamps and common mistakes
| Mistake | Why it causes trouble | Better action |
|---|---|---|
| Tamping an uneven mound | The surface can look flat while density remains uneven below | Redistribute before pressure |
| Correcting angle after compression starts | Rocking can rearrange particles and create different packing conditions | Set the base straight before the press; improve the next attempt |
| Using maximum force | Adds load without fixing distribution or grind | Stop at complete compaction and control flow with grind |
| Polishing or spinning under pressure | Can disturb the prepared surface; appearance is not proof of quality | Release force and lift vertically |
| Tapping after tamping | Can crack the wall bond or disturb the puck | Brush loose coffee from the rim instead |
| Changing force shot to shot | Creates another uncontrolled input | Keep tamping stable and change one recipe variable at a time |
Practise outside service. Use an empty basket to learn straight insertion and removal, then repeat at least five consecutive doses with the same coffee, basket, dose and distribution method. Record dose, yield, time, visible flow and taste rather than relying on memory. Review the least successful shot and change only one probable cause before the next set.
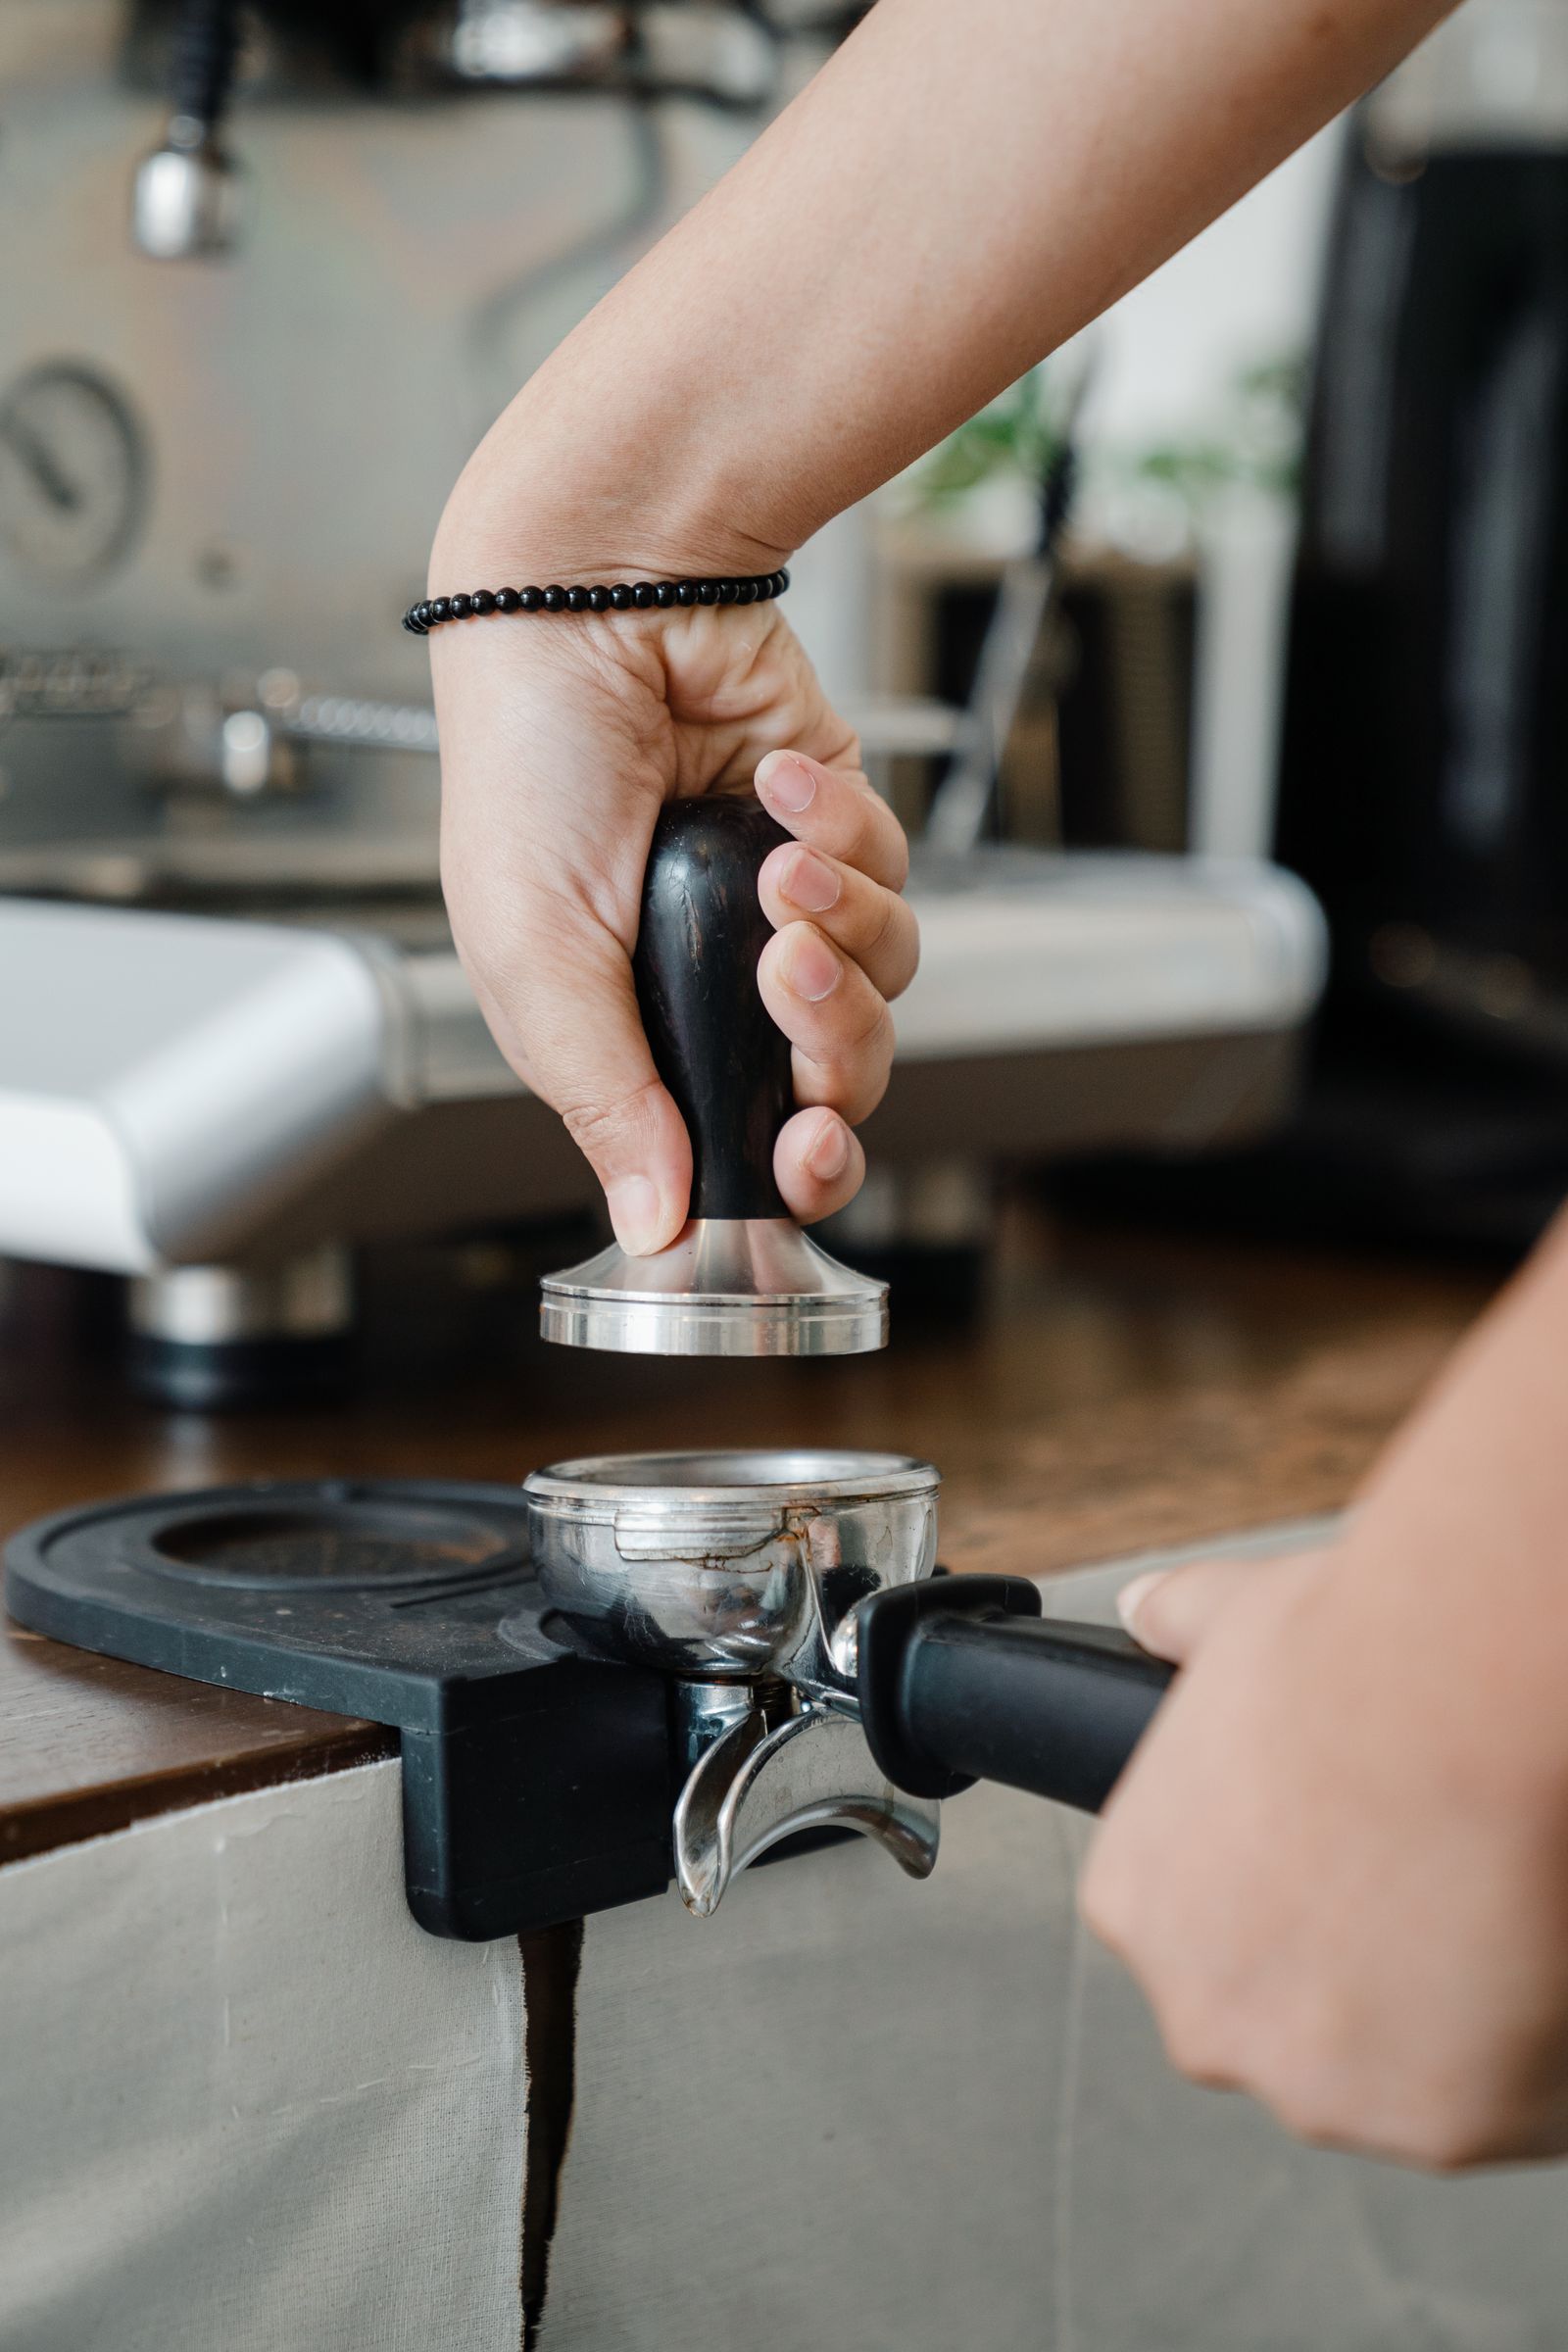
A repeatable café tamping SOP
A café procedure should describe observable actions rather than vague instructions such as “tamp hard.” Standardize the basket, dose tolerance, distribution method, tamper, rim cleaning and backup process. Use the same wording at each station.
Audit the process during a peak period. Look for crossed movements, raised shoulders, wrist bending, tilted portafilters, repeated correction, skipped rim cleaning and pressure changes used to compensate for grind drift. Keep a compatible manual tamper available even when a station uses an automatic machine, so cleaning, maintenance or power loss does not stop service.
Frequently asked questions
How hard should I tamp espresso?
Press smoothly until the bed is fully compacted, then stop. The useful target is a complete, level, repeatable tamp rather than one universal number. If the shot runs fast or slow, keep tamping stable and adjust grind and recipe deliberately.
Do I need to tamp espresso twice?
Usually no. One aligned, complete tamp is easier to repeat and less likely to disturb the puck. If the first attempt is tilted, review distribution, support, posture and straight entry before the next dose rather than adding corrective presses.
Should I twist the tamper after pressing?
Avoid twisting while pressure remains on the puck. A polished surface does not prove even density and rotation can disturb the prepared bed. Release force, then lift slowly and vertically.
Why is my espresso tamp always uneven?
Common causes are unstable portafilter support, an uneven loose bed, bent wrist or applying force before the base is aligned. Distribute first, check the rim gap from several sides and only then press. A compatible self-leveling tamper can provide a useful reference.
Can tamping too hard cause channeling?
Extra effort is unnecessary, but channeling should not be diagnosed from force alone. Clumps, distribution, tilt, basket fit, puck cracks, grind, headspace and water distribution can also contribute. Check one variable at a time.
What size coffee tamper do I need?
Choose for the basket’s actual internal diameter and taper at intended puck depth. The base should minimize the edge gap without scraping or becoming stuck. Test representative baskets, especially when using precision baskets.
Is a self-leveling tamper better for beginners?
It can help reduce tilt because a collar or plate references the basket rim. It still needs the correct diameter and enough downward travel, while the user still needs to distribute evenly and remove the tool without disturbance.
Does tamping fix poor coffee distribution?
No. Tamping mainly compresses the arrangement already present. A flat top can hide clumps or high- and low-density areas underneath. Break clumps and distribute before tamping, then assess repeated extraction results.
Why is the puck wet after extraction?
A wet puck does not automatically mean the tamp was wrong. Dose, headspace, basket, grind, valve design, recipe and removal timing can affect appearance. Judge with yield, time, flow, repeatability and taste instead.
Technical sources and image credits
- Barista Hustle — Tamping and Brewing Technique. Technical guidance on straight entry, flat tamping and careful removal.
- Technical University of Munich — Time-resolved Espresso Extraction Study. Peer-reviewed record on particle size and tested tamping-pressure conditions.
- European Food Research and Technology — Coffee Puck Preparation Study. Research on coffee-particle arrangement, percolation and extraction reliability.
- International Journal of Industrial Ergonomics — Alternative Tamper Design Study. Peer-reviewed, model-specific posture and risk comparison.
- De’Longhi — How to Tamp the Perfect Espresso. Official general guidance on even, perpendicular compaction.
- Coffmach — Coffee Tamper. Product and OEM/ODM context.
- Coffmach — Coffee Tamper Guide. Internal guide to tamper types, sizes and use.
- Coffmach — How Hard Should You Tamp Coffee?. Internal technique context for force and workflow.
- Coffmach — How to Choose a Coffee Tamper. Internal selection guide for fit and design.
- All seven article photographs are real, unbranded coffee-workflow images from Pexels. Each photograph is credited in plain text directly below the image; neither the image nor its credit is a clickable link.