
19.11.2025
For great espresso, tamp with enough force to fully press the coffee grounds into a solid, flat surface. Most people mention 15-30 pounds of pressure, but consistency matters more than hitting an exact number. Press down until the coffee stops compressing. Then stop.
Poor tamping ruins espresso shots. It makes them taste sour, bitter, or weak. This frustrates many home coffee makers who want café-quality results.
This guide will show you exactly how hard you should tamp coffee. We’ll go beyond simple numbers. You’ll learn the technique and develop the right feel for excellent results. Our advice comes from professional barista experience and proven extraction methods. We’ll cover why tamping matters, how to do it right, and how to fix common problems.
Table of Contents
Why Tamping Matters
To master tamping, you need to understand its role in making espresso. It’s not just about packing coffee down. You’re creating the perfect foundation for water to extract the best flavors.
Creating Even Resistance
Espresso works by forcing hot water through finely ground coffee at high pressure. A coffee tamper creates a puck with the same density throughout.
This even density works like a well-built barrier. It makes sure water flows through every part of the coffee equally. Without this even resistance, water will find weak spots and rush through them.
Understanding Channeling
Channeling destroys good espresso. It happens when water finds easy paths through cracks or loose areas in the coffee puck.
Instead of soaking all the grounds evenly, water races through these channels. This creates a terribly unbalanced shot.
Dense, untouched areas become under-extracted. They taste sour, weak, and acidic. Coffee along the channels gets too much water. This over-extraction tastes bitter, harsh, and unpleasant.
The result is a messy, unbalanced cup that disappoints every time.
Controlling Flow Rate
Tamping is one key tool for controlling shot timing and flow rate. Grind size and coffee amount are the others.
Light tamping creates a weak puck. Water flows through too quickly. This gives you a fast shot that’s under-extracted, sour, and thin.
Heavy tamping can make the puck too dense. This “chokes” your machine. Water can barely get through. You’ll get a very slow, dripping shot that’s over-extracted and bitter.
Finding the right balance helps you dial in your perfect shot. You can learn more about how all these factors work together in our guide to espresso basics. For deeper technical details, Barista Hustle offers an excellent look at espresso extraction.
The "30 Pounds" Rule Explained
When people ask how hard you should tamp coffee, they often hear “30 pounds of pressure.” This single number has confused more home baristas than almost any other espresso advice. Let’s clear this up.
Where This Rule Started
The 30-pound rule came from barista competitions. Judges used it to create consistent standards. This way, they could focus on evaluating other skills, not tamping force.
It worked well for that specific purpose. But it’s been wrongly treated as a universal rule for all espresso making. Today’s home baristas have better grinders and tools. The exact number matters much less than the final result.
What Really Matters
The real goal isn’t hitting a specific number on a scale. You want two things: complete compression and consistency.
Complete compression happens when the coffee grounds won’t compress any more with reasonable force. Once you reach this point, pressing harder doesn’t help extraction. It can actually crack the puck or strain your wrist.
Think about tightening a screw. You tighten until it’s snug and secure. Over-tightening strips the threads and causes damage. Tamping works the same way.
Consistency is even more crucial. Tamping with 20 pounds every single time beats tamping with 30 pounds one day and 25 the next. Consistent tamping removes a major variable. This lets you make precise grind adjustments to perfect your shot.
Training Your Feel
How do you learn this “complete compression” feeling without obsessing over numbers? You train your body to recognize it. Here are two practical methods.
The Bathroom Scale Method is for training, not daily use. Put your portafilter on a bathroom scale and zero it. Press down with your tamper and watch the number. Practice hitting 15, 20, and 30 pounds. Your goal is learning what these forces feel like. After a few practice sessions, put the scale away.
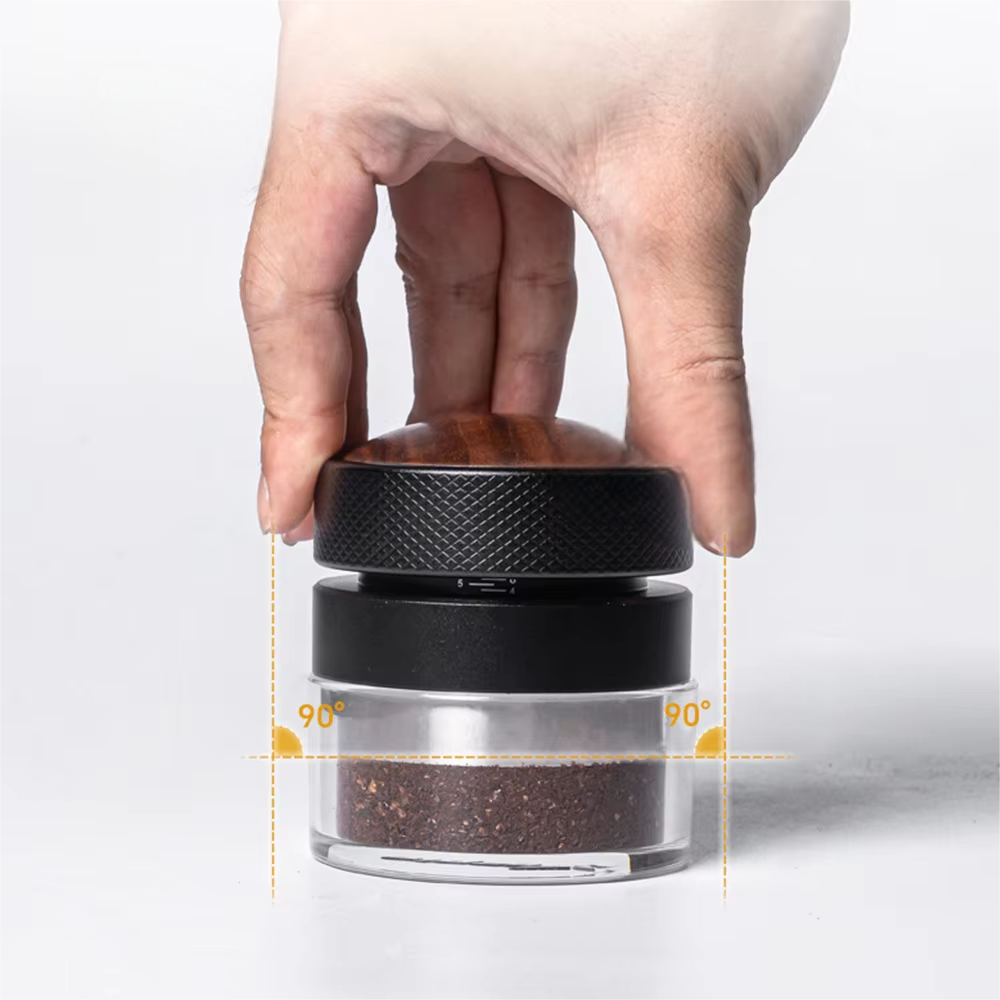
The “Feel” Method is what professionals use. It focuses on body position and feedback. Keep your wrist straight and elbow at 90 degrees. Press down firmly and evenly. Pay attention to what the coffee bed tells you. You’ll feel it compress, then stop giving way and push back. That’s complete compression. That’s your stopping point.
Whether that force is 22 or 28 pounds doesn’t matter. What matters is feeling that endpoint and repeating it consistently for every shot.
Method | Pros | Cons | Best For |
Bathroom Scale | Gives exact numbers, great for learning. | Messy and impractical for daily use. | Beginners learning pressure feel. |
The “Feel” Method | Quick, efficient, builds real consistency. | Takes practice, less exact measurement. | Daily use once you learn the basics. |
5-Step Tamping Method
Perfect tamping follows a step-by-step process. This five-step method will help you build the muscle memory for consistent, delicious espresso every time.
1. Measure and Spread
Your tamping is only as good as your preparation. Start with the right amount of coffee for your basket.
Next, distribute the grounds to create a level, fluffy bed without clumps. A Weiss Distribution Technique (WDT) tool works great for this. It breaks up clumps and evens out density. You can also tap the portafilter sides gently or use your finger to sweep the surface. This step prevents channels before you even start tamping. Watching a visual guide on the Weiss Distribution Technique (WDT) can really help.
2. Set the Tamper
Place your portafilter on a level, solid surface or tamping mat. This gives you a stable base.
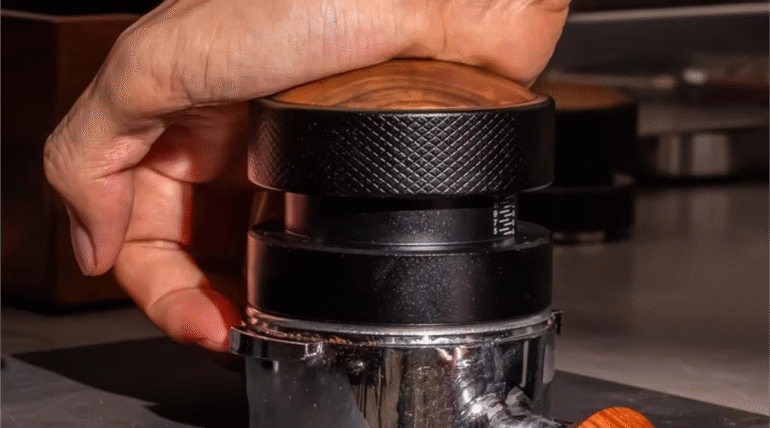
Rest the coffee tamper on top of the grounds. Before applying pressure, use your fingertips to feel the gap between the tamper and basket rim. Adjust until the tamper sits perfectly level. An uneven tamp guarantees channeling. This step is critical for success.
3. Apply Steady Pressure
Good body position protects your wrist and improves consistency. Keep your wrist straight, creating a solid line from elbow to tamper. Position your elbow at about 90 degrees, directly over the portafilter.
Press straight down using your body weight from your shoulder. Don’t rely just on arm or wrist strength. Press firmly and smoothly until the coffee bed feels solid and stops compressing. Hold the pressure briefly to set the puck.
4. The Polish
This step is optional but many baristas recommend it. Without pressing down further, give the tamper a gentle, light spin. About a quarter turn is plenty.
This “polish” smooths the puck surface and removes loose grounds clinging to the tamper. It creates a clean, smooth surface.
Be careful not to press down while spinning. This can break the seal between puck and basket walls. It creates tiny cracks that invite channeling.
5. Check Your Work
The final step is a quick quality check. Lift the tamper straight up carefully to avoid disturbing the puck.
Look at the coffee surface. It should be perfectly level and smooth, like polished stone. You shouldn’t see any cracks, gaps, or loose grounds. If the puck looks tilted, your tamp was uneven.
Don’t try fixing an uneven tamp by pressing one side or tamping again. This “double tamping” will only crack the puck’s structure. The only fix for a bad tamp is dumping the puck and starting over. A level puck is essential for great shots, just like using the right coffee beans.
Common Tamping Errors
Even with good intentions, bad habits develop easily. Spotting and fixing common tamping mistakes is one of the fastest ways to improve your espresso and solve channeling problems. Here are the most frequent issues and their solutions.
Mistake | Why It’s a Problem | The Solution |
Too Light | Water rushes through the loose puck, creating a fast, watery, sour shot. The used puck often looks muddy. | Press harder until you feel complete compression. If shots are still too fast after fixing your tamp, grind finer. |
Too Hard | Over-compacts coffee, choking your machine. Results in slow, dripping, bitter shots. Extreme force can crack the puck internally, causing hidden channels. | Use less pressure. Stop at complete compression, don’t apply maximum force. If shots are still too slow, grind coarser. |
Uneven Tamp | The top cause of channeling. Water flows to the lower, less-dense side. This over-extracts one side and under-extracts the other. | Keep your wrist straight and ensure the tamper is level before applying pressure. Use your fingertips as guides. A self-leveling tamper can solve this completely. |
Rocking Motion | An old technique of rocking the tamper in circles. This creates density differences in the puck and causes inconsistent shots and channeling. | Tamp straight down and lift straight up. Your movement should be purely vertical. Avoid any side-to-side or rocking motions. |
Double Tamping | Tamping, lifting, then tamping again to “fix” it. This breaks the seal and internal structure, guaranteeing channels. | If your first tamp is poor, accept it. Dump the puck and start fresh from distribution. It’s better to waste coffee than pull a bad shot and reinforce bad habits. |
For more espresso theory and professional standards, the Specialty Coffee Association (SCA) website offers valuable resources and standards.
Choosing the Right Tool
While technique comes first, your tool matters too. A poor-quality coffee tamper can ruin even practiced technique. Understanding your equipment helps you master espresso puck preparation.
Tamper Parts
A good tamper is more than just a handle and flat metal piece. Several factors affect its performance.
Base material is crucial. Stainless steel is the industry standard. It provides good weight, durability, and a food-safe surface that won’t affect your coffee’s flavor.
Base shape is another factor. While some tampers have curved bases, the modern standard is flat. Flat bases create more even density across the entire puck. This is ideal for preventing channeling.
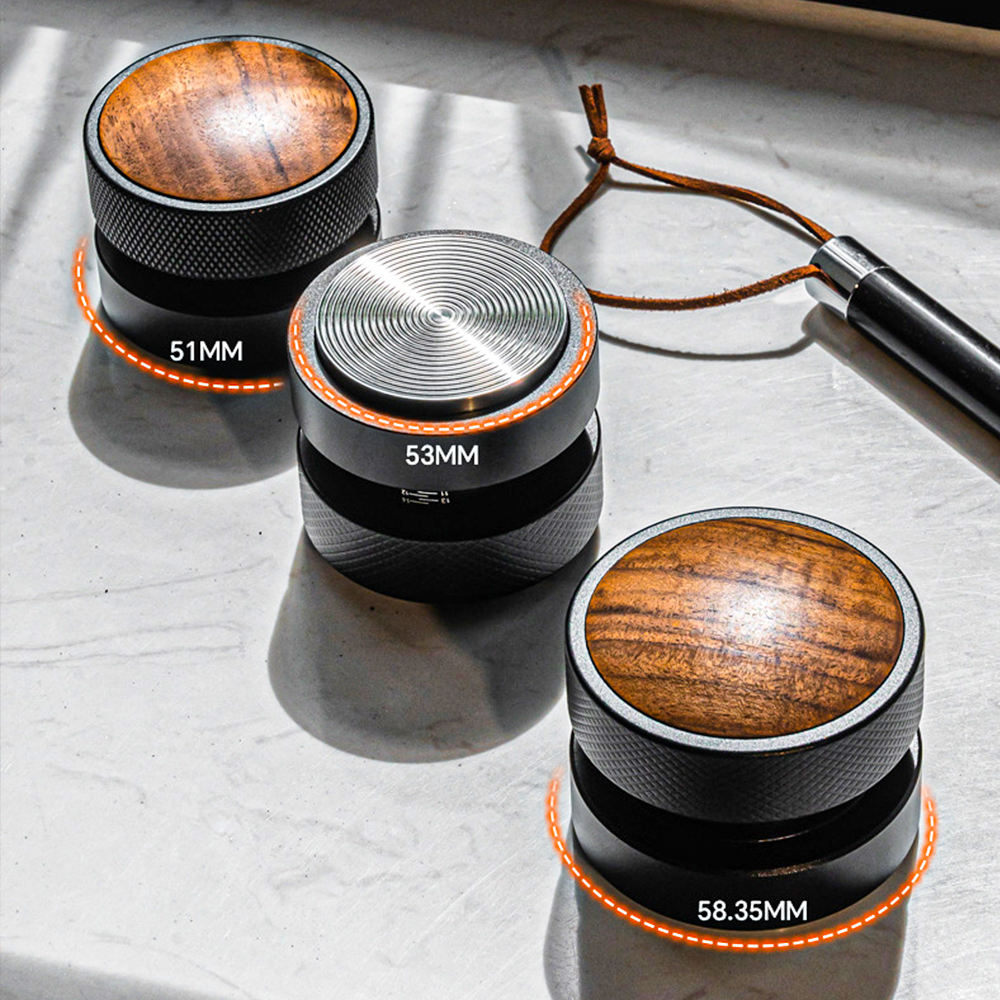
Most important is the fit. The tamper base should fit snugly in your portafilter basket. Common sizes include 58mm for commercial-style machines, and 54mm or 51mm for many home machines. A tamper that’s too small leaves untamped coffee around the edges. This guarantees side-channeling. Always measure your basket’s inner diameter before buying a tamper.
Tamper Types
Tampers come in several designs, each with pros and cons.
Classic Tampers use traditional design: a handle attached to a weighted base. They’re simple and effective. They rely entirely on your technique for level and consistent tamping.
Calibrated Tampers remove pressure guesswork. They feature a mechanism that “clicks” or gives way at preset pressure (often 30 pounds). These work great for beginners or commercial settings where multiple baristas need consistent results.
Self-Leveling Tampers are perhaps the biggest tamping innovation. They have a guide collar that rests on the portafilter basket rim. This ensures the tamper base is perfectly parallel to the coffee bed every time. This design makes uneven tamping nearly impossible.
For home baristas wanting to master technique without overspending, a high-quality classic tamper is perfect for starting. A tamper with solid stainless steel base and ergonomic handle, like the Coffee Tamper from coffmach, provides the weight and precision needed to learn proper tamping feel. Its build quality ensures years of reliable use in your coffee routine.
When to Upgrade vs. Improve Technique
A great tamper won’t fix bad technique, but a bad tamper can ruin good technique. So when should you upgrade?
If your current tamper is the lightweight plastic one from your machine, or if it doesn’t fit your basket properly, upgrading will immediately improve your tamping ability.
However, if you already have a solid, well-fitting tamper but still get inconsistent shots, focus on mastering the 5-step process and “feel” method before buying new tools. Tool improvements should go with understanding your machine, as explored in our guide to choosing the right home espresso machine. For more equipment guidance, sites like Serious Eats often have detailed reviews of coffee equipment to help guide your choice.
From Force to Feel
Mastering tamping is a journey from focusing on force to developing feel and consistency. By understanding the principles, you can transform a frustrating variable into a reliable part of your workflow.
Key Points
- Tamping creates a level, uniformly dense puck to prevent channeling.
- Consistency beats force. Aim for complete compression, not an arbitrary number like 30 lbs.
- Level tamping is essential. An uneven tamp is the fastest way to a bad shot.
- Both technique and tools matter. Master technique first, then ensure your tool is adequate.
Stop worrying about exactly how hard you should tamp coffee. Start focusing on a smooth, repeatable, and consistent process. This shift from pressure to process is the final step toward mastering espresso at home.
To see these techniques in action and discuss them with other enthusiasts, communities like Reddit’s r/espresso offer invaluable resources for continued learning.
As a professional manufacturer specializing in the research, development, and production of Coffee machine accessories, we not only offer a diverse product selection but also support OEM/ODM customization to meet the needs of diverse markets and customers. With consistent quality control, fast delivery, and innovative designs, our coffee machines are used by numerous brands and channels worldwide. Whether you're a distributor, wholesaler, or brand owner, we can provide you with reliable solutions to help you grow your business. Contact us to explore potential collaboration opportunities.

Facebook
Twitter
LinkedIn
WhatsApp
Categories: Coffee/Brewing Tips Product Knowledge