BARISTA GUIDE · PITCHER SELECTION · WHOLESALE & OEM
Best Milk Pitcher for Latte Art
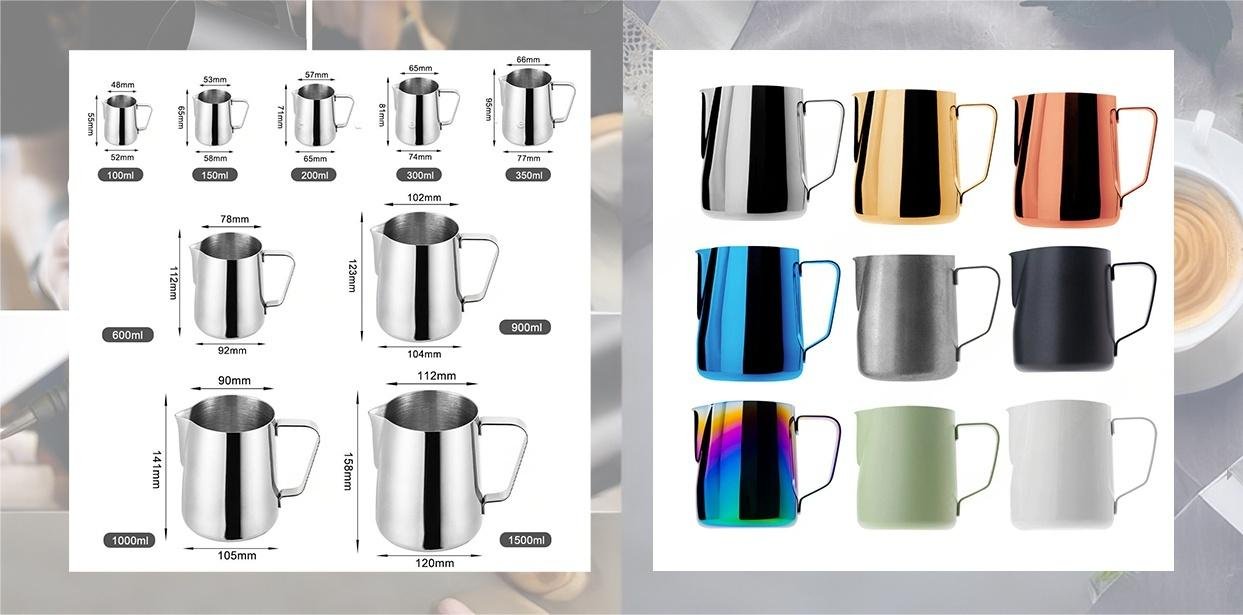
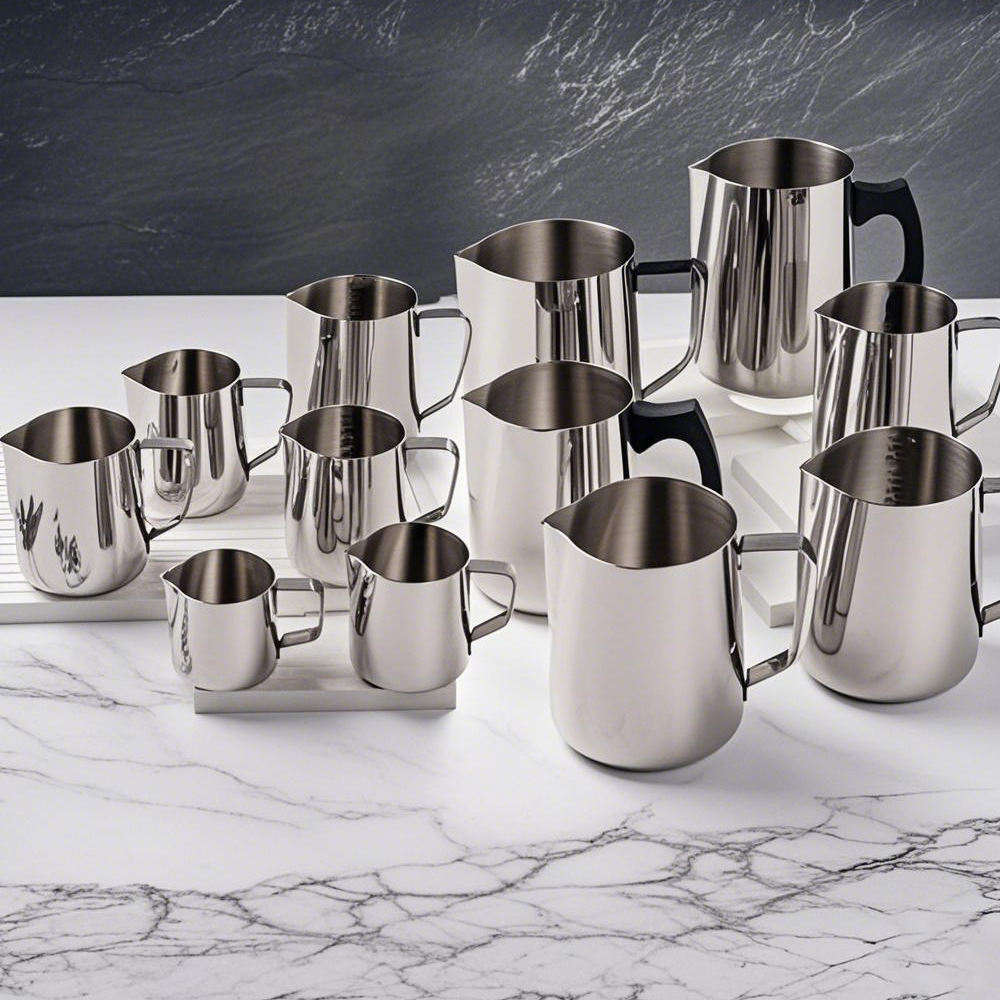
For most beginners and everyday single-drink service, start with a 350–450 ml (12–15 oz) 304 stainless steel pitcher with a centered round or medium-narrow spout and a comfortable grip. Add a 600 ml (20 oz) pitcher for larger drinks or two-cup service. The best choice is the one that fits the milk dose, cup, steam wand and pouring style—not simply the sharpest-looking spout.
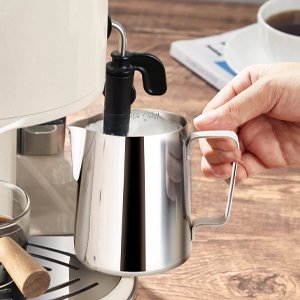
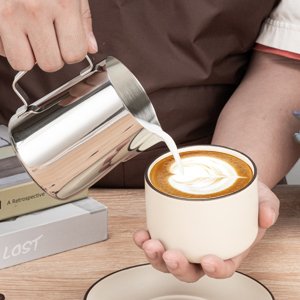
Quick answer: a versatile 12–15 oz pitcher is the best first latte-art tool
- Match the pitcher to the milk dose and working fill, not the cup’s printed ounces alone.
- Round or medium-narrow spouts are usually easier for first hearts, tulips and general café service.
- Sharp or tapered spouts help focused placement, but do not correct dry foam, big bubbles or a hesitant flow.
- Body diameter, taper, rim, spout centerline and grip change control as much as the advertised capacity.
- 304 stainless steel is a practical default; the grade alone does not prove quality, alignment or cleanability.
- For cafés and brands, approve a functional golden sample and test production units for stream, geometry, finish and durability.
Choose the pitcher size by milk dose and working fill
Nominal capacity is not the same as usable steaming fill. The correct starting dose sits well below the rim so the steam tip can enter the milk at a controllable depth and the milk has headspace to expand. Two 450 ml pitchers may behave differently if one is wide and shallow and the other is tall and tapered.
| Pitcher size | Best starting use | Strength | Watch for |
|---|---|---|---|
| 300–350 ml / 10–12 oz | Small drinks and modest milk doses | Light, close control and less excess milk | Limited headspace with a powerful steam wand |
| 400–450 ml / 14–15 oz | One 6–10 oz milk drink | Balanced depth, headspace and pour control | Working fill varies with diameter and taper |
| 500–600 ml / 17–20 oz | Large latte or two smaller drinks | More room for the larger milk dose and service workflow | Can feel oversized and require a steep angle for a single small cup |
| 900 ml and above | Batch use or simple large-volume tasks | High capacity | Filled weight and shallow milk level can hinder detailed single-cup latte art |
For a first purchase, 350–450 ml is generally the most useful range because it keeps the tool agile while still giving room for controlled aeration. A café should normally stock at least two standardized sizes rather than forcing an oversized pitcher to serve every drink.
Round vs sharp spout: choose the flow you can control
For most beginners, a round or medium-narrow spout is the safer first choice. It tends to provide a readable, moderate stream for hearts, monk’s heads and stacked tulips. A sharp, narrow or tapered spout becomes useful when the barista needs a more focused stream for fine rosetta leaves, wing tulips, swans and finishing lines.
| Feature | Round or medium spout | Sharp or narrow spout | Selection lesson |
|---|---|---|---|
| Typical feel | Moderate and forgiving | Focused and sensitive | Choose the response that matches the operator’s control level |
| Useful first patterns | Heart, monk’s head, stacked tulip | Rosetta, wing tulip, swan and detailed combinations | Pattern families overlap; milk texture remains decisive |
| White area | Builds bold shapes efficiently | Places smaller elements more precisely | Do not pour too slowly when a broad pattern is needed |
| Common problem | Flow becomes too broad or the cut too heavy | Foam bunches up or the stream becomes hesitant | Adjust milk fluidity, height and flow before replacing the pitcher |
Inspect geometry, not only the name
Terms such as “precision spout” are not standardized. Two spouts with the same marketing name can differ in tip width, projection, lip radius, front crease and top angle. Fellow’s Eddy pitcher is one useful model-specific example: its fluted spout, sharp front crease and tapered body are designed as a combined system, rather than as a tip alone.
When evaluating a sample, pour the same measured amount of cool water along a visible line at slow, medium and service flow rates. A split, twisting, sideways or clinging stream suggests a lip, finish or alignment issue before you waste milk in full tests.
Body shape, balance and grip determine whether the pitcher feels natural
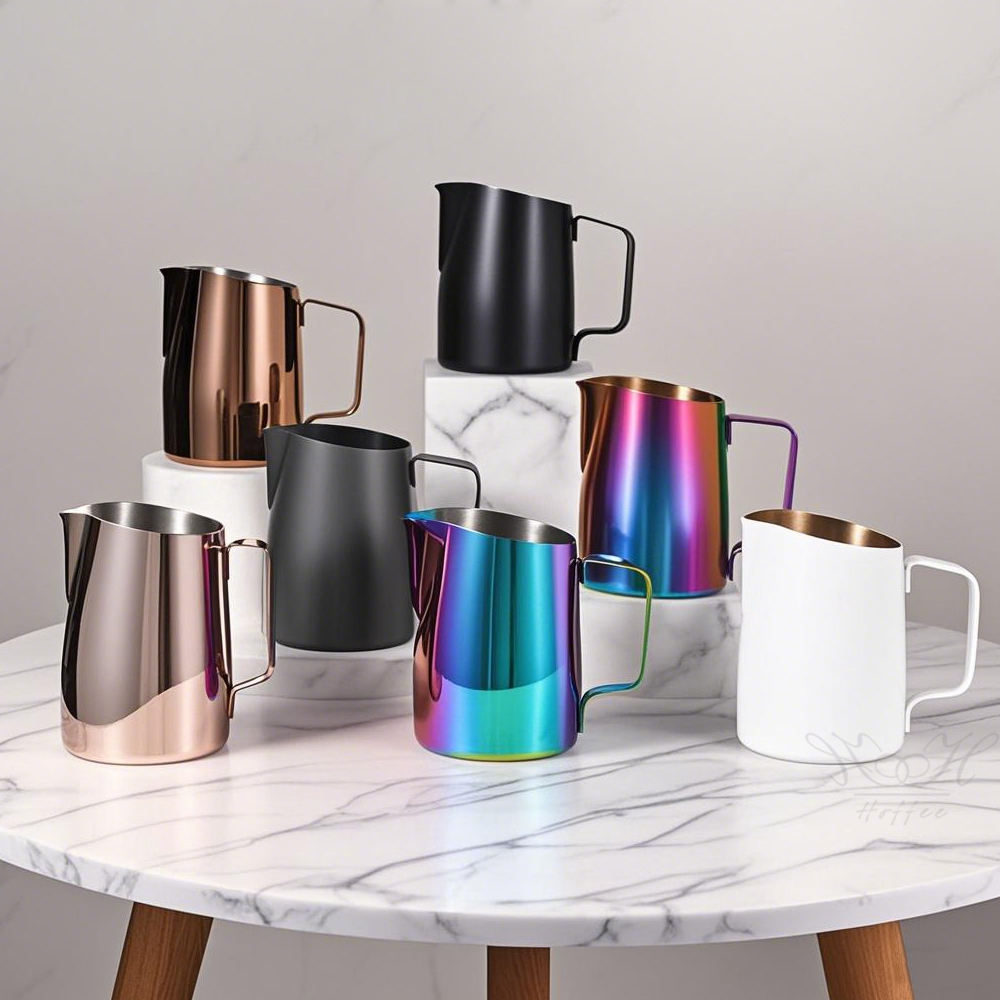
Capacity tells you how much a pitcher can hold; body geometry tells you how it behaves. Diameter and taper change milk depth and circulation. A slanted top can alter the wrist angle at which the spout approaches the crema. Spout projection can make it easier to get close to the surface, but it also changes balance and release.
Centered spout
The spout should sit on the body centerline. An off-center outlet forces compensation and makes a café set harder to standardize.
Comfortable handle
For shared stations, a stable handle gives a reliable orientation reference and reduces direct contact with the hot wall.
Handleless control
Some baristas prefer a direct rotating grip close to the body. The trade-off is wall heat and the need for a secure, cleanable sleeve or controlled method.
Test grip with wet hands, a full working dose and a partly empty pitcher. The best handle is not simply the largest or most decorative one; it must allow a stable wrist position while the pitcher becomes lighter during the pour. For handleless designs, assess sleeve fit, heat, rotation and cleaning access.
Microfoam comes before the pitcher
A milk pitcher can help control a good foam, but it cannot rescue dry foam, large bubbles, separation or an uncontrolled steam routine. Latte art needs fluid microfoam: milk and fine bubbles should travel together through the spout. Foam that is too dry tends to sit back and arrive as a blob; thin milk spreads before a clear pattern forms.
Barista Hustle’s training guidance describes entraining air while the milk is still cool, then integrating it as the milk heats. Steam-tip position matters because a tip that is deeply submerged adds heat but does not draw air from the surface. This is why a change of pitcher should be tested using the same milk, starting temperature, dose, steam setting, rest time and cup.
Material, finish and markings: useful features with boundaries
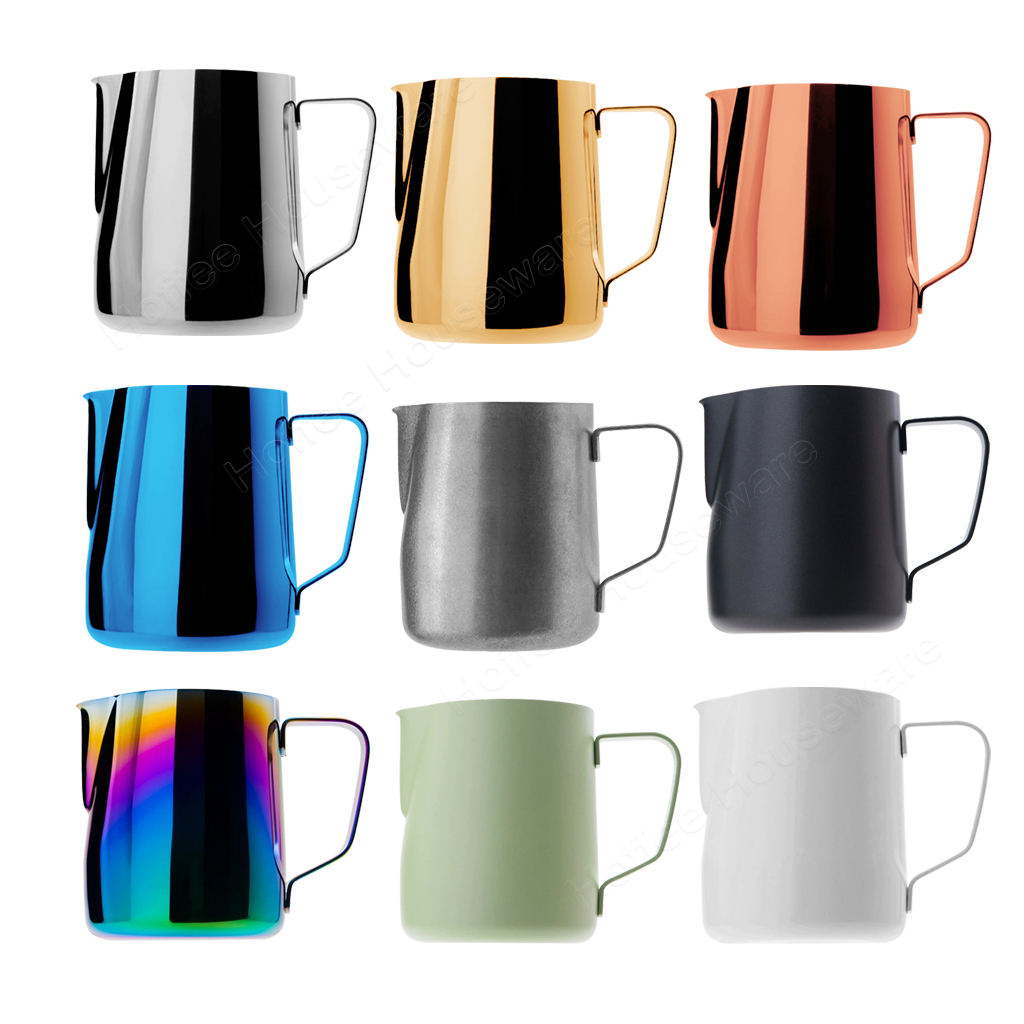
304 stainless steel is a practical default for a reusable latte-art pitcher because it offers useful corrosion resistance, formability and a cleanable surface. Grade alone does not state wall thickness, rim consistency, spout accuracy, weld quality or finished-product compliance. Check the complete pitcher, especially when it has a coloured coating, printed logo or internal measurement marks.
- Wall construction: can affect mass, dent resistance, rigidity and tactile heat feedback; it does not guarantee better microfoam.
- Interior finish: should be smooth and easy to inspect and clean around the rim, spout, base and marks.
- Exterior finish: should be assessed for colour consistency, adhesion, cleaning resistance and edge coverage—not appearance alone.
- Measurement marks: are useful only when accurate, legible, durable and tied to a validated recipe. The highest mark is not automatically the correct steaming fill.
- Rim and welds: should have no sharp edge, loose handle, trapped-residue point or rough transition.
Best milk pitcher by user type
For a beginner
Choose a handled 350–450 ml stainless steel pitcher with a centered round or medium-narrow spout. Use the same cup and milk dose while learning hearts and simple tulips. Avoid an extreme needle-like spout just because advanced videos use one; it can make an uncertain pour harder to read.
For home espresso
Match the pitcher to the steam wand and cup you use most often. A 350 ml model suits a small drink if the wand reaches the milk comfortably; a 400–450 ml pitcher adds flexibility. Add 600 ml only if large drinks or two-person service are normal.
For a busy café
Standardize a compact single-drink pitcher plus a 600 ml service pitcher. Prioritize moderate-flow spouts, durable handles, centered geometry, smooth welds, clear dosing and finishes that fit the actual cleaning routine. Keep limited sharp-spout tools for advanced work without making them the default for every new employee.
For advanced latte art
First match capacity so the spout reaches the drink without an extreme tilt. Then compare a narrow or tapered spout against the current general-purpose tool. Evaluate line separation, white-area fill, finishing cuts, comfort and consistency over repeated pours—not a single dramatic pattern.
Build a practical latte-art pitcher range
Tell Coffmach the intended users, cup sizes, milk doses, preferred spout, finish, logo and packaging. We can help create a matched sample plan for stock, wholesale or OEM/ODM projects.
How to test a milk pitcher before you buy
A short controlled trial is more useful than a long list of product adjectives. Change one pitcher variable at a time and keep the machine, cup, recipe, milk and operator protocol as stable as possible.
| Symptom | Quick check | Likely next action |
|---|---|---|
| Stream splits or pulls sideways | Repeat the same-fill water-line test with identical samples | Inspect lip finish and centerline; investigate repeatable geometry error |
| Pattern stays tiny | Compare with a correctly filled smaller pitcher at normal flow | Match the body to the milk dose before changing spouts |
| Hand or wrist fatigues | Measure empty and working-fill weight; test several grips | Choose a smaller or better-balanced construction |
| First drink foamy, second thin | Observe two-drink batch division | Use a controlled split-and-recombine routine |
| Milk will not circulate | Change dose and steam-tip depth before changing tools | Check body/wand fit and actual steam conditions |
Buying and OEM checklist for latte-art pitchers
For a custom or wholesale order, turn subjective terms such as “precision spout” and “ergonomic handle” into drawings, dimensions, visual standards and functional tests. A perfect development sample is not enough unless production can reproduce it.
| Requirement | What to define | Why it matters |
|---|---|---|
| Use case | Target user, drink sizes, cup shape, milk dose and intended steam systems | Sets the real working-fill and geometry target |
| Core dimensions | Capacity method, diameter, height, taper, top angle, spout opening and projection | Protects steam fit and flow behavior |
| Construction | Material, thickness definition, weight, finish, rim, handle/handleless details and weld expectations | Separates grade claims from finished quality |
| Branding | Logo method, position, artwork, marks, packaging and durability expectation | Protects retail appearance and usability |
| Acceptance | Golden sample, inspection level, water-flow protocol, milk-pour test and cleaning-cycle test | Lets an inspector reproduce the functional check |
Production rule: ask the supplier to identify whether every value comes from a drawing, nominal sheet, finished measurement, test report or marketing label. Clear definitions prevent disputes after mass production begins.
Frequently asked questions
What size milk pitcher is best for latte art?
For most single drinks, start with 350–450 ml (12–15 oz). Use the smaller end for modest doses and small cups; use 500–600 ml for a large latte or two smaller drinks. Confirm with the actual steam wand and milk dose because nominal capacity does not define working fill.
Is a 12 oz or 20 oz pitcher better for latte art?
A 12 oz pitcher is generally easier for one small drink, while a 20 oz pitcher is more useful for large drinks or two-cup service. Many home and café setups keep both sizes instead of forcing one pitcher to do every task.
Is a round or sharp spout better for beginners?
A round or medium-narrow spout is usually more forgiving for beginners because it gives a moderate readable stream. A sharp spout can help with fine lines, but move to one after microfoam, centering, flow and cuts are repeatable.
Does an expensive milk pitcher make latte art easier?
It can help if the price reflects better alignment, balance, spout release, durability and size options. Price alone does not create microfoam or technique. A well-centered basic pitcher that fits the dose and cup can outperform a premium specialist pitcher that does not.
Is 304 stainless steel good for a latte-art pitcher?
Yes. 304 stainless steel is a strong general-purpose choice for reusable milk pitchers. Still check the complete product—thickness, rim, welds, interior finish, coating, marks and destination-market requirements—rather than treating the grade label as a finished-quality certificate.
Are handleless milk pitchers better for latte art?
Not universally. Handleless pitchers allow a flexible rotating grip close to the body, while handled pitchers give orientation and reduce direct contact with the hot wall. Choose the design you can hold securely through steaming and pouring.
Do measurement marks improve latte art?
They can improve repeatability when accurate, legible and connected to a tested recipe. They help staff begin with the same cold-milk dose, but do not replace control of aeration, final temperature or working fill.
What pitcher set should a café buy?
Start with matching 350–450 ml pitchers for single drinks and 600 ml pitchers for large drinks or two-cup batches. Standardize the primary spout and handle for training, then add a limited number of precision-spout or handleless units for advanced users.
Technical sources and image credits
- Coffmach — Coffee Milk Jug. Product and OEM context for capacity, materials, finishes, marks, logos and packaging.
- Barista Hustle — Making Microfoam. Training context for air entrainment and steam-tip position.
- Barista Hustle — I Gotta Split. Two-pitcher milk-splitting workflow for matching drinks.
- Fellow — Eddy Steaming Pitcher. Model-specific example of combined spout, crease and tapered-body design.
- worldstainless — Food and beverage industry. Material, hygienic-design and fabrication context.
- Outokumpu — Forming of stainless steel. Forming and local wall-thinning context.
- All six article images are real Coffmach product or coffee-workflow images from the Coffee Milk Jug landing page. Image captions are plain text and are not clickable.