

Quick answer: which milk pitcher spout should you choose?
Choose a round spout for the most versatile and forgiving pour, a sharp or narrow spout for exact placement and finer-looking lines, and a wide spout for faster flow, bold line weight and a large pattern base. Treat those labels as useful starting categories, not engineering standards. The complete outlet, body, milk fill and technique determine what reaches the cup.
Key takeaways
- Round is the safest one-pitcher choice. It suits beginners, general café service, hearts, stacked tulips and medium-width waves.
- Sharp or narrow is a precision tool. It can make entry points and finishing cuts easier to place, but it exposes inconsistent foam, timing and wrist movement.
- Wide is a volume tool. Many wide profiles build bold wings and large bases quickly, leaving less time to correct placement in small cups.
- Round and wide are not synonyms. Round describes a curved outlet family; wide describes a relatively open outlet. Some manufacturers classify wide as an extra-round variant.
- Technique still leads. Fluid microfoam, pitcher fill, cup angle, drawing height and flow rate can matter as much as the visible tip.
- B2B buyers should specify measurable geometry. Approve a drawing and functional sample instead of relying on phrases such as “professional sharp spout.”
| Decision factor | Round | Sharp / narrow | Wide |
|---|---|---|---|
| Typical stream character | Moderate, smooth, forgiving | Focused, placement-sensitive | Fast, broad, volume-forward |
| Useful pattern style | Hearts, tulips, balanced waves | Fine rosettas, swans, details | Bold wings, large bases, dramatic waves |
| Learning curve | Usually easiest to read | Rewards stable milk and timing | Demands confident flow control |
| Main advantage | Versatility across common drinks | Fine placement and narrow finishing strokes | Builds contrast and coverage quickly |
| Main trade-off | May feel less exact for tiny details | Can feel sensitive with dry or separated foam | Can overfill a small canvas or blur spacing |
| Best starting user | Beginner, café service, one-pitcher buyer | Detail-focused intermediate or advanced user | Experienced wave-pour or high-flow user |
If you can buy only one: start with a controlled round or medium profile. Add a sharp spout when line placement is the repeatable limitation. Add a wide spout when you intentionally want more flow, broader lines and a larger base—not because the silhouette looks more advanced.
Comparing stock pitchers or a matched three-spout sample set?
Send the target capacity, cup range, pattern style, finish, logo and order quantity. Coffmach can discuss available designs, samples and OEM/ODM options.
What “round,” “sharp” and “wide” actually mean
Milk-pitcher spout names are descriptive market terms. They do not define one universal width, projection, angle, radius or flow rate. WPM, for example, publishes separate round, sharp, wide and tapered families, and describes its wide profile as an extra-round outlet intended for faster pours and larger wave-pattern bases.[1] That is useful evidence within one product family, but it is not a cross-brand standard.
A round spout normally has a curved lip and a soft transition from the rim into the pouring point. “Round” does not mean blunt or incapable of detail. A compact outlet, a slanted top or a well-formed front channel can still produce a defined stream.
A sharp or narrow spout converges toward a more defined tip. Product listings may call it pointed, precision, needle-nose or eagle-beak. The visual focus can help the user see small placement changes, yet the actual stream may still be fast. Fellow’s account of developing the Eddy pitcher says that its pronounced front crease produced a faster, more consistent-feeling flow in prototypes.[2] Silhouette alone therefore cannot rank flow speed.
A wide spout has a relatively open outlet. On many designs, it releases more milk for the same working motion and makes broader line character easier to build. A tapered or hybrid profile sits between round and sharp, aiming to retain enough volume for soft forms while preserving a defined tip for layers and cuts.
The spout is more than the visible tip
| Feature | What it can change | What to inspect or specify |
|---|---|---|
| Effective outlet width | Potential stream width and volume at a defined tilt | Measure at an agreed reference point and compare like-sized bodies |
| Projection length | How close the tip can approach the drink and clear the cup rim | Side profile, reach and interference with the target cup |
| Lip radius and edge finish | How cleanly milk detaches instead of clinging or dripping | Roll consistency, smoothness, burrs and coating intrusion |
| Front crease or channel | How strongly liquid is guided toward one release path | Depth, start point, symmetry and sample-to-sample consistency |
| Top-rim angle | The pitcher angle required before milk reaches the outlet | Level or slanted top and its relationship to the normal grip |
| Centerline alignment | Whether the stream follows the body and intended hand reference | Front-view symmetry, handle alignment and water-stream direction |
| Body diameter and taper | Milk depth, liquid head, balance and tilt response | Evaluate the whole pitcher rather than approving the tip alone |
Flow changes continuously during the pour
A pitcher is a variable-flow vessel, not a fixed nozzle. A useful conceptual relationship is Q = A × v, where Q is volumetric flow rate, A is the effective cross-sectional area of the stream and v is average velocity. The relationship explains why a larger effective opening can pass more milk, but it cannot predict latte-art performance from tip width alone. The barista changes effective area and velocity through tilt, fill level, acceleration, height and hand movement.
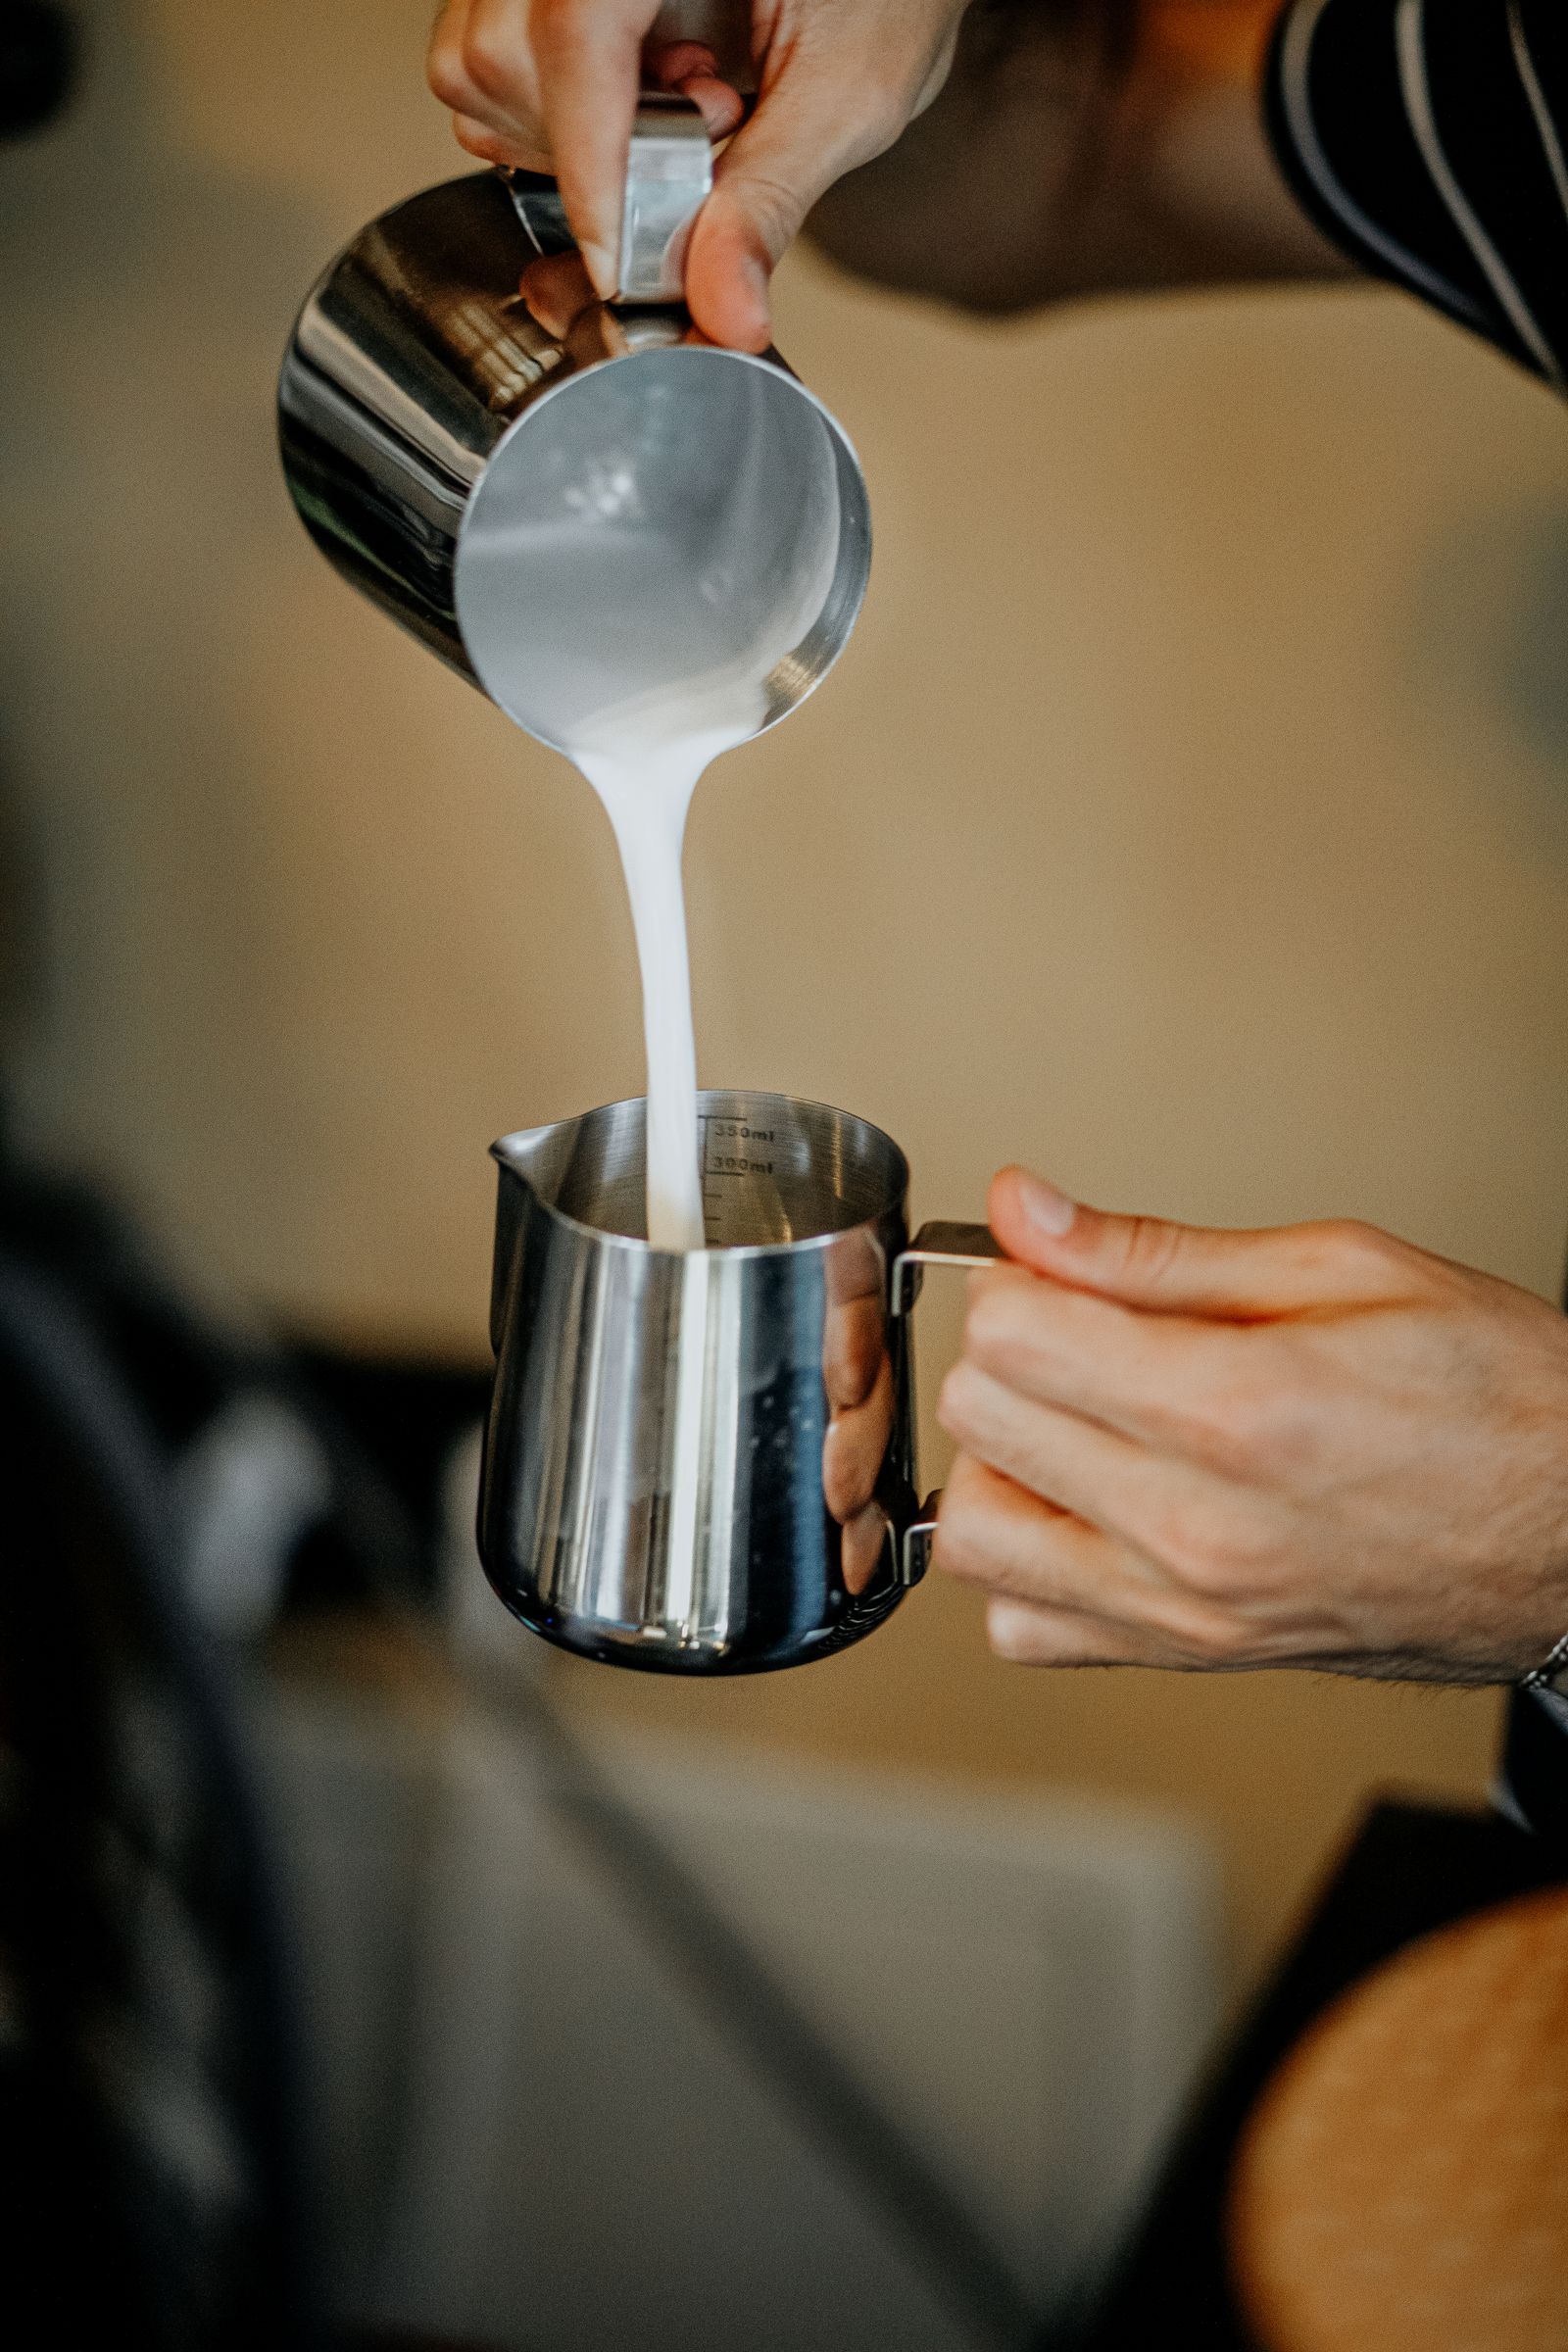
During the filling phase, a higher, thinner stream tends to enter beneath the beverage surface and mix. During the drawing phase, the spout moves close to the surface so the milk-and-foam emulsion remains visible. A sharp pitcher used too high does not automatically produce thin white lines, and a wide pitcher used close with controlled flow can still make defined forms. Decent Espresso’s training resource likewise treats flow control, cup tilt and tip-to-surface distance as coordinated variables, not isolated tricks.[3]
Microfoam quality comes before spout choice
No outlet repairs dry, bubbly, separated or poorly integrated milk. Latte art needs a fluid emulsion in which liquid and fine bubbles move together. Dry foam can bunch at the outlet and fall as a blob. Thin foam can sink or lose white contrast. Rested milk drains and changes from the first line to the finishing cut.
A peer-reviewed International Dairy Journal study found that processing method, steam-heating temperature and protein conditions changed microfoam viscosity, stability and bubble-size distribution.[4] That research does not compare pitcher spouts, but it supports an important testing rule: hold milk product, starting temperature, aeration, final temperature, rest time and swirl routine constant. Otherwise the trial mainly compares foam batches.
Round, sharp and wide spouts in real products
The following photographs show physical pitchers from one WPM product system. Using one manufacturer makes the category labels easier to compare, but it does not imply that every brand uses identical shapes. Treat the pictures as real examples of the three families and verify the unit you intend to buy.

Round spout
Moderate flow, soft line character and a broad operating window make round a practical default for learning and everyday café service.

Sharp / narrow spout
A defined tip supports visible placement cues and narrow finishing movements when the milk and hand motion are already consistent.

Wide spout
A relatively open outlet favors fast surface coverage, heavier line weight and the large base used in bold wing and wave patterns.
When a round spout is the best choice
Choose round when one pitcher must cover many drinks and several user skill levels. The moderate response is usually easier to read: a small increase in tilt produces a visible but manageable increase in milk. That helps beginners connect wrist motion to line weight, and it helps cafés train a repeatable heart or tulip without giving every barista a specialist tool.
Round is especially useful for solid hearts, monk’s heads, stacked tulips, medium rosettas and fast service signatures. Its limitation is not that detail is impossible; it is that extremely small entry points or narrow negative spaces may demand more precise flow reduction and movement than with a focused outlet.
When a sharp or narrow spout is the best choice
Choose sharp when the user already makes integrated microfoam and wants clearer control over where a line begins, changes direction or finishes. Fine rosetta leaves, swan necks, wing details and combination patterns can benefit from a defined release point. A sharp profile is also useful in a training kit because it makes left-right alignment errors easier to see.
The trade-off is sensitivity. A dry foam plug, delayed tilt, off-center wrist or asymmetric lip becomes obvious. Do not assume that “sharp” means a slow stream: body shape and the front channel can feed a pointed outlet quickly. Test the useful range from first release to pattern flow.

When a wide spout is the best choice
Choose wide when the intended style needs a committed flow: dramatic ripples, bold wings, large tulip bases, thick-line rosettas or rapid surface coverage in a broad cup. It can help an experienced user build contrast before the cup fills. It can also suit a café signature designed around a bold, repeatable shape rather than miniature detail.
The correction window is shorter. In a small cup, a moment of excess flow can use the remaining canvas, push the design off center or merge spaces that should stay dark. A wide pitcher should therefore be matched to cup diameter, drink size, normal milk dose and the operator’s start-stop control. “Wider is better” is not a useful specification without those conditions.
Best spout by pattern, skill level and café workflow
Experienced baristas can pour most patterns with more than one profile. The table below identifies a productive starting point, not a restriction. The best choice is the pitcher that produces the highest repeatability with your real milk, cup, capacity and service speed.
| Pattern or task | Useful starting spout | Why it helps | Technique priority |
|---|---|---|---|
| Solid heart / monk’s head | Round | Moderate flow builds one clean white mass | Get close, increase flow smoothly, then lift and cut |
| Stacked tulip | Round or tapered | Combines volume with repeatable start-stop control | Center each push and reserve space for later layers |
| Traditional rosetta | Sharp/narrow or controlled round | Sharp supports separated leaves; round gives fuller lobes | Match wiggle, forward motion and flow |
| Wing tulip with a large base | Wide or round | Higher flow opens bold wings and fills a broad canvas | Commit to the base without overfilling |
| Fine wing tulip | Sharp or tapered | Focused placement helps preserve feather separation | Use fluid foam and a very low drawing height |
| Swan / combination design | Sharp, narrow or tapered | Precision helps place several elements in limited space | Plan sequence and retain milk for the neck and cut |
| Fast café signature heart | Round or medium-wide | Predictable volume and contrast support service | Standardize dose, cup, texture and handoff |


Recommendations by user and workflow
Home-barista beginner: buy a round or medium profile in the capacity that matches the usual drink. It gives enough visual feedback to learn milk integration, cup tilt, drawing height and a clean finishing cut. A second specialist pitcher is useful only after the same limitation appears across several practice sessions.
Intermediate learner: keep the round pitcher as a baseline and add one sharp or tapered unit. Alternate both with the same milk recipe and cup. The comparison shows whether the issue is placement, flow range or milk texture instead of encouraging random equipment changes.
Busy café: prioritize repeatability, cleaning, grip and the ability to train several operators. A controlled round or medium-wide profile is often easier to standardize for hearts and tulips. Match the pitcher size to drink volume; Coffmach’s milk-jug size guide explains why working fill and body size should be evaluated with the recipe.
Training school: use a matched set of round, sharp and wide pitchers with the same capacity and body family. Students can feel how outlet geometry changes the response without confusing the test with different weights, diameters or fills.
Dairy and plant-based menus: do not assign one outlet to all oat, soy or dairy products. Formulations vary in viscosity, foam stability and drainage. Run the actual menu product through each candidate and score continuity, white contrast and repeatability after the same rest time.
How to test pitcher spouts fairly
A good comparison answers a narrow question: which outlet produces the intended pattern most repeatedly under the target workflow? It should not reward the pitcher used with fresher milk, a more suitable cup or a more experienced operator.
- Define the decision before pouring. Choose one primary outcome, such as heart symmetry, rosetta leaf separation, wide-base contrast, centered release or low drip rate.
- Match the test hardware. Use the same capacity and, where possible, the same body family, finish and handle. Use one cup model and the same espresso or practice base.
- Standardize the milk. Record product, cold dose, starting temperature, aeration time, final temperature, rest time and swirl routine. Alternate pitcher order to reduce batch bias.
- Run a water screen first. Fill to a defined line, use a repeatable tilt and observe centerline, split streams, lip clinging and drips. Water screens gross geometry defects; it does not predict microfoam behavior.
- Run several milk pours. Score at least several repetitions per profile and use more than one operator for a café or retail product. A single attractive pour is not a repeatability result.
- Review blind when practical. Code pitchers or pour photos so the reviewer is not influenced by price, color or brand. Keep the pattern sequence constant.
- Record the working range. Note the point of first release, controllable medium flow, maximum useful flow and finishing behavior—not just the final photograph.
Useful scorecard: centered release, stream continuity, low-flow control, high-flow control, line separation, base coverage, cut cleanliness, drip after cut, operator comfort and pattern repeatability. Weight the scores to the intended product, not to a generic idea of “professional.”
Troubleshooting apparent spout problems
| Symptom | Likely causes | Confirmation test | Corrective action |
|---|---|---|---|
| Stream pulls left or right | Off-center grip, twisted outlet, handle misalignment | Water test with handle-neutral grip; compare another unit | Correct wrist reference or reject units outside alignment limit |
| Stream splits into two | Dried milk, burr, uneven lip roll, coating intrusion | Clean and inspect the edge under controlled light | Remove residue; replace or reject a damaged outlet |
| Foam releases as a blob | Dry or separated foam, low milk level, narrow passage | Repeat immediately with more fluid milk and fixed fill | Improve integration; transfer/swirl; adjust dose or profile |
| Wide spout overfills the cup | Late flow reduction, small cup, excessive working fill | Use a marked fill and larger cup; record the release range | Reduce dose, start earlier, or choose round/tapered |
| Sharp spout will not make thin lines | High flow, excessive height, thick foam, slow travel | Lower the tip and reduce flow with the same pitcher | Coordinate height, flow and movement before changing tools |
| Pitchers of the same model feel different | Outlet, crease, top angle, weld or coating variation | Gauge and code multiple units; run water and milk screens | Set tolerances and retain a functional golden sample |
Six selection mistakes that distort the result
Treating round and wide as identical: many wide outlets are visibly round, but not every curved lip has a wide effective opening. Ask how the supplier separates its product families and compare dimensions or a matched pour.
Assuming sharper means slower: a pronounced front crease can channel milk rapidly, and a narrow-looking outlet can accelerate at a particular angle. Observe the full controllable range instead of ranking front-view silhouettes.
Comparing different foam batches: dry first milk and fluid second milk can make the second pitcher appear superior regardless of geometry. Alternate the order, standardize the recipe and score repeated pours.
Ignoring capacity and cup shape: a 300 ml sharp pitcher and a 650 ml wide pitcher differ in mass, milk depth, liquid head and tilt. A narrow cup and a broad bowl also provide different canvases. Compare the complete system.
Buying from one front photograph: that view can hide top angle, projection, lip finish, twist and handle alignment. Request front, top and side images, key dimensions, a physical sample and a controlled-pour video.
Calling one successful pour proof: a useful tool improves the rate of acceptable pours. Judge several repetitions, more than one pattern and more than one operator when the product is intended for a broad café or retail market.
OEM and wholesale milk pitcher spout specification
For a private-label or wholesale program, “round,” “sharp” and “wide” are concept words. They help begin the conversation, but they cannot control production. The purchasing specification must connect measurable geometry to an approved functional result.
Define the geometry on the drawing
- Capacity, body height, top diameter, base diameter and taper
- Outlet width at an agreed reference point and spout projection
- Top-rim angle, lip radius, edge roll and deburring requirement
- Front crease or channel depth, length, start point and symmetry
- Spout centerline relative to the body and handle or grip reference
- Material grade, wall thickness and internal/external finish limits
- Handle position, clearance, weld location and filled balance target
- Measurement marks, logo method, coating boundary and packaging
Approve appearance and function separately
A polished sample can still drip or pour sideways, and a centered stream can come from a sample with rough edges or weak welds. Retain the approved drawing, signed golden sample, material and finish reference, packaging standard, water-screen record and agreed milk-pour video. Test each capacity because a visually similar outlet on a different body can feel different.
| Characteristic | Suggested check | Project pass logic | Why it matters |
|---|---|---|---|
| Outlet dimensions | Gauge or fixture against drawing | Within buyer-defined tolerances | Geometry drift can alter focus and release |
| Centerline and symmetry | Front-view fixture or image overlay | No twist or offset outside the approved limit | Reduces sideways and split streams |
| Lip and edge finish | Visual and tactile inspection | Smooth, clean, no burr or coating intrusion | Supports clean release, cleaning and handling |
| Water-stream screen | Defined fill, tilt method and target | Centered continuous stream without abnormal split | Finds gross alignment defects quickly |
| Milk functional test | Approved recipe, cup, operator and coded units | Meets agreed repeatability criteria | Confirms behavior in intended use |
| Handle and weld | Visual check plus project-defined load/cycle method | No looseness, cracking, sharp weld or distortion | Protects durability and pouring balance |
| Markings and finish | Artwork, adhesion, cleaning and color comparison | Matches approved reference and method | Prevents branding and dose-control complaints |
Water is appropriate for alignment screening, but it does not reproduce microfoam viscosity, bubbles, drainage or surface behavior. The buyer and supplier should agree sample size, tolerances, test cycles, defect definitions, reporting, required food-contact documents and destination-market obligations for the exact project. Coffmach’s OEM and private-label milk-jug guide provides a broader framework for sampling, branding, inspection and packaging.
RFQ checklist for a custom spout
- Target customer, skill level, menu, cup range and priority latte-art patterns.
- Desired flow and line character: fine, medium, bold, slow-build or fast wave base.
- Round, sharp, wide or hybrid concept plus a dimensioned drawing or approved reference sample.
- Pitcher capacities, normal cold-milk dose, body shape, handle/handleless preference and balance target.
- Material, finish, coating boundaries, internal marks, logo method and retail packaging.
- Golden-sample process, water screen, milk-pour protocol, inspection plan and defect definitions.
- Order quantity, destination, labeling language, timeline, carton protection and reporting needs.
Turn a spout concept into a sample and inspection plan
Send Coffmach your reference photos or drawing, target capacity, flow behavior, material, finish, branding, packaging, quantity and destination for a project-specific discussion.
Milk pitcher spout FAQ
Is a round, sharp or wide spout best for beginners?
A controlled round or medium spout is usually the best starting point. It provides enough flow for a heart or tulip while making changes in tilt easy to read. Add a specialist only after one limitation becomes repeatable with stable microfoam.
What is a wide-spout milk pitcher used for?
A wide-spout pitcher is commonly used for bold lines, rapid surface coverage, dramatic waves and large wing or tulip bases. It works best with a suitable cup and confident start-stop control. It leaves less room for correction in small canvases.
Which spout is best for a rosetta?
A sharp or narrow spout is a useful starting point for a fine-line rosetta because it helps with placement and leaf separation. A controlled round spout can produce a fuller rosetta with broader lobes. Milk fluidity, drawing height, wiggle frequency, forward motion and flow remain decisive.
Does a sharp spout always make thinner lines?
No. A defined outlet can focus the stream, but line width also depends on flow rate, height, tilt, foam texture, milk level and hand movement. A sharp pitcher at high flow can make broad lines, while a controlled round pitcher can make relatively fine ones.
Can a wide spout make fine latte art?
Yes, within limits. A skilled barista can reduce flow, lower the tip and use a wide outlet for defined patterns. However, many wide designs naturally favor volume and bold line weight, so tiny details and narrow cuts may require more correction.
Why does my milk pitcher pour two streams?
The outlet may contain dried milk, a burr, uneven edge roll, coating intrusion or asymmetry. The pitcher may also be tilted off its centerline. Clean the lip, inspect it head-on, test with water and compare another unit before blaming the spout category.
Does pitcher size change how the same spout feels?
Yes. Size changes body diameter, milk depth, weight, liquid head and the angle needed before milk reaches the outlet. A similar spout on 350 ml and 600 ml bodies may not respond the same way. Match the size to the recipe and test each capacity.
Which pitcher spout is best for oat milk?
There is no universal winner because oat beverages differ in formulation, viscosity, foam stability and drainage. Test the actual menu product. A round or wide profile may help build volume with thicker foam; a narrow profile may improve placement when the foam remains fluid.
What should an importer inspect on a milk pitcher spout?
Inspect outlet width, projection, lip radius, front crease, top angle, centerline, symmetry, edge smoothness, coating boundary, stream release, handle alignment and consistency between units. Retain a functional golden sample and define repeatable water and milk tests.
Technical sources and image credits
- WPM — Discover Our Milk Pitchers. First-party guide distinguishing round, sharp, wide, tapered and other WPM profiles and describing their intended line and pattern character.
- Fellow — Perfecting Steamed Milk: The Making of Eddy. Product-development account discussing prototypes, user testing, the sharp front crease, fluted spout and perceived flow.
- Decent Espresso — Everybody Latte Arts. Training resource covering pitcher selection, flow control, cup tilt, drawing distance and practice methods.
- Klimanova et al., International Dairy Journal — Effect of Steam Frothing on Milk Microfoam. Peer-reviewed research on processing, temperature, protein conditions, viscosity, stability and bubble-size distribution.
- Münchow et al., International Dairy Journal — Steam-frothing of Milk for Coffee. Research method for evaluating foam properties with video analysis.
- Coffmach — Coffee Milk Jug. Product and customization context for capacities, materials, markings, branding and packaging.
- Coffmach — What Size Milk Jug for 2 Coffees?. Capacity and working-fill context.
- Coffmach — How to Use a Milk Frothing Pitcher. Technique context for steaming and pouring.
- Coffmach — OEM & Private Label Coffee Milk Jug. Sampling, supplier, customization, quality and packaging framework.
- Article photography is individually credited beneath each image to Pexels, Unsplash, WPM or Fellow. All visible article images depict real pitchers or real barista use.