
18.09.2025
Can I use capsule coffee without a machine? Yes, absolutely.
You’re holding a coffee pod. Your machine broke. You’re traveling. Or maybe you don’t own one at all. This happens all the time, and the fix is easier than you think. You already have what matters most: perfectly measured ground coffee.
This guide shows you four proven ways to open that capsule and make excellent coffee. We’ll cover everything from elegant pour-over techniques to quick stovetop solutions.
Master these methods and you will:
- Save money by skipping expensive machines.
- Enjoy great coffee anywhere – hotel rooms, campsites, anywhere.
- Stop wasting capsules you might throw away.
Table of Contents
Inside a Coffee Capsule
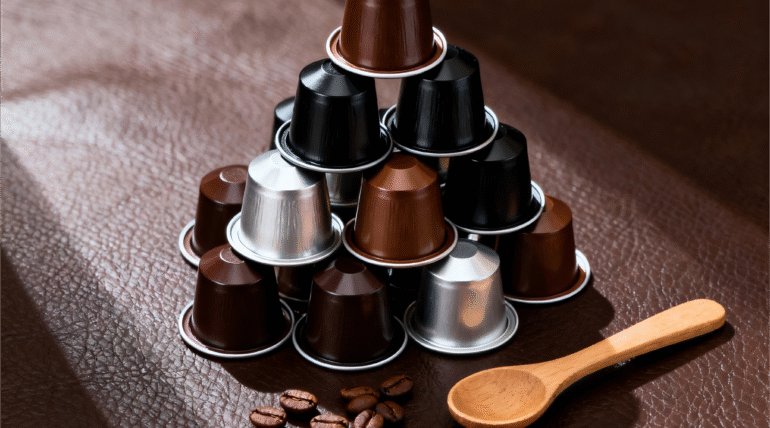
These methods work because coffee capsules aren’t complicated. They’re just smart packaging.
A capsule holds one serving of finely ground coffee in a sealed container. The design is simple. Machines pierce it and push hot water through. But you can open it by hand.
Most capsules are either Nespresso-style aluminum pods or Keurig K-Cup plastic cups. They’re built differently, but the parts are the same.
Here’s what you’re working with:
- Foil Lid: A thin aluminum layer that seals the coffee fresh. This is where you start.
- Ground Coffee: The main ingredient. It’s usually fine grind, which matters for our brewing methods.
- Filter: Many capsules, especially K-Cups, have a small paper filter inside holding the grounds.
- Plastic/Aluminum Body: The outer shell giving the capsule its shape.
Understanding this makes the process clear. You’re not dismantling complex technology. You’re just opening a container to reach the coffee inside.
Safely Opening Your Capsule
Before brewing, you need to get the coffee out. This is the most important step. Doing it safely and cleanly matters for every method that follows.
Safety first prevents cuts and keeps plastic or foil pieces out of your coffee.
Safety First
Work on a stable, flat surface like a cutting board. Point sharp tools away from your body. Use slow, controlled movements. The foil and plastic edges get sharp after cutting.
Here’s how to open any coffee capsule step by step.
- Gather Your Tools: Get sharp kitchen shears or a small, sharp paring knife. Scissors are often safest and cleanest.
- Hold Securely: Put the capsule on your cutting board. Don’t hold it in your hand while cutting.
- Cut or Pierce the Lid:
- For foil-lidded capsules like Nespresso, carefully pierce the foil center with your knife tip. Cut outward in a circle around the rim. Often you can peel the foil lid back completely with your fingers.
- For plastic K-Cups, scissors work best. Snip into the plastic cup side just below the top rim and cut all the way around. Kitchen shears give the cleanest cut on plastic K-Cups, preventing small plastic pieces.
- Empty the Grounds: Once the lid is off, turn the capsule upside down and tap the contents into your mug, filter, or brewing device.
Method 1: The Pour-Over
This method suits coffee lovers who want a clean, nuanced, classic cup. It mimics the craft coffee experience and gives you control over the final taste.
It’s perfect for morning rituals at home or even at the office with basic supplies.
You Will Need:
- Coffee Dripper/Cone (Ceramic, plastic, or makeshift)
- Paper Filter (sized for your dripper)
- Mug or Carafe
- Hot Water (just off boiling)
- 1-2 opened coffee capsules
Step-by-Step Instructions:
- Set up your station. Put the paper filter inside your coffee dripper and place the dripper on your mug or carafe.
- Rinse the filter. Pour a little hot water through the empty paper filter. This crucial step removes paper taste and preheats your dripper and mug for better flavor. Pour out this rinse water.
- Add your coffee. Empty grounds from one or two capsules into the center of the wet filter. Gently shake the dripper to level the coffee bed.
- Start the bloom. Pour just enough hot water (about twice the coffee weight) to evenly wet all grounds. You’ll see them bubble and expand. This is the bloom – it lets trapped CO2 escape. Wait 30 seconds.
- Continue pouring. Slowly pour the rest of your hot water over the grounds in gentle, circular motions. Avoid pouring directly on the filter sides. The entire pour should take 2 to 3 minutes.
- Let it drain and enjoy. Once water has fully dripped through, remove the dripper, toss the filter with used grounds, and enjoy your clean, aromatic coffee.
Tip
For stronger, standard-sized mug coffee, use two capsules with about 240-300ml (8-10 oz) water. Because capsule coffee is ground so fine, pouring water too fast can make it run through without proper flavor extraction, creating weak, sour coffee. Slow, steady pouring is key.
Method 2: The French Press
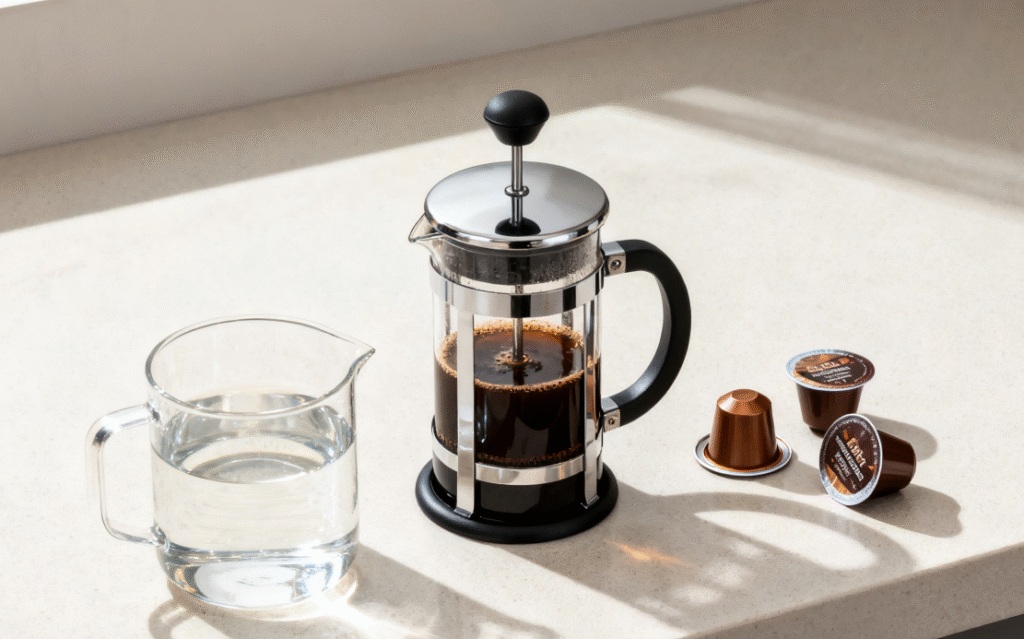
If you prefer coffee with more body, richness, and velvety texture, the French press method is ideal. This technique uses immersion brewing, where coffee grounds steep directly in water.
This extracts more oils and fine particles than paper filters, creating robust, full-bodied brew. Perfect if you own this common coffee equipment.
You Will Need:
- French Press
- Hot Water
- 2-3 opened coffee capsules (French presses work best with higher coffee-to-water ratios)
Step-by-Step Instructions:
- Add coffee grounds. Empty contents of two or three coffee capsules into the bottom of your French press carafe.
- Add hot water. Pour hot water (just off boiling) over the grounds. For a standard 8-cup press, fill it about halfway for this amount of coffee.
- Stir gently. Use a spoon to gently mix grounds and water together. This ensures all coffee gets saturated and extracts evenly.
- Place the plunger on top. Put the lid and plunger assembly on the carafe, but don’t press down yet. This traps heat while coffee steeps.
- Steep for 4 minutes. Let coffee steep. Four minutes is the standard for French press, but you can adjust by 30-60 seconds to fine-tune strength to your taste. Remember, capsule coffee is fine, so it can get bitter if steeped too long.
- Press slowly. After 4 minutes, press the plunger down slowly and steadily. Even pressure prevents fine grounds from stirring up and bypassing the filter.
- Pour immediately. As soon as you finish plunging, pour all coffee out of the press into your mug. Leaving it in the press continues extraction, leading to bitter, unpleasant taste.
Method 3: Stovetop Brewing
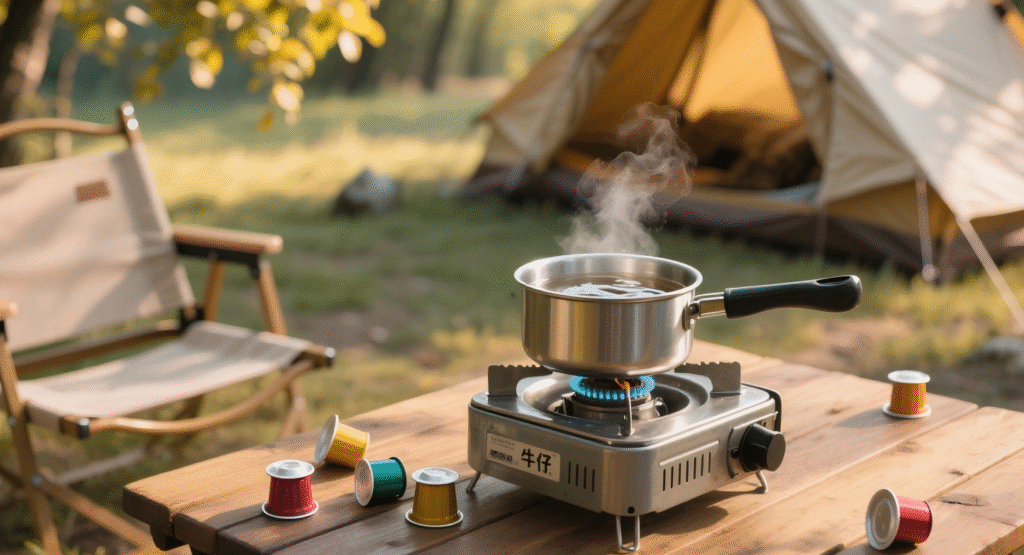
Picture this: you’re camping, staying in a barely equipped rental, or the power’s out. All you have is a heat source, small pot, and your coffee capsules. This is where the “Cowboy” stovetop method becomes your best friend.
It’s rugged and no-frills but incredibly effective. It produces bold, strong coffee that’s deeply satisfying when you need it most.
The Technique:
- Heat your water. In a small saucepan or pot, bring your desired amount of water to near-boiling. Once you see small bubbles forming, remove it from heat.
- Add the coffee. Immediately add grounds from your coffee capsules directly into the hot water. Give it a quick stir to mix the grounds.
- Let it settle. Let the pot sit undisturbed for 2-3 minutes. During this time, most coffee grounds will slowly sink to the bottom.
- Use the cold water trick. This is key to a cleaner cup. Gently sprinkle a tablespoon or two of cold water over the coffee surface. Colder water helps suspended grounds settle to the pot bottom more quickly.
- Pour with care. Now pour coffee into your mug. Tip the pot slowly and gently to avoid disturbing the “sludge” layer at the bottom. Leave the last bit of liquid and all grounds behind in the pot.
The result is bold, a bit rustic, and may have little sediment at your mug bottom. But it’s wonderfully satisfying and resourceful for getting your caffeine fix anywhere.
Method 4: The DIY Coffee Bag
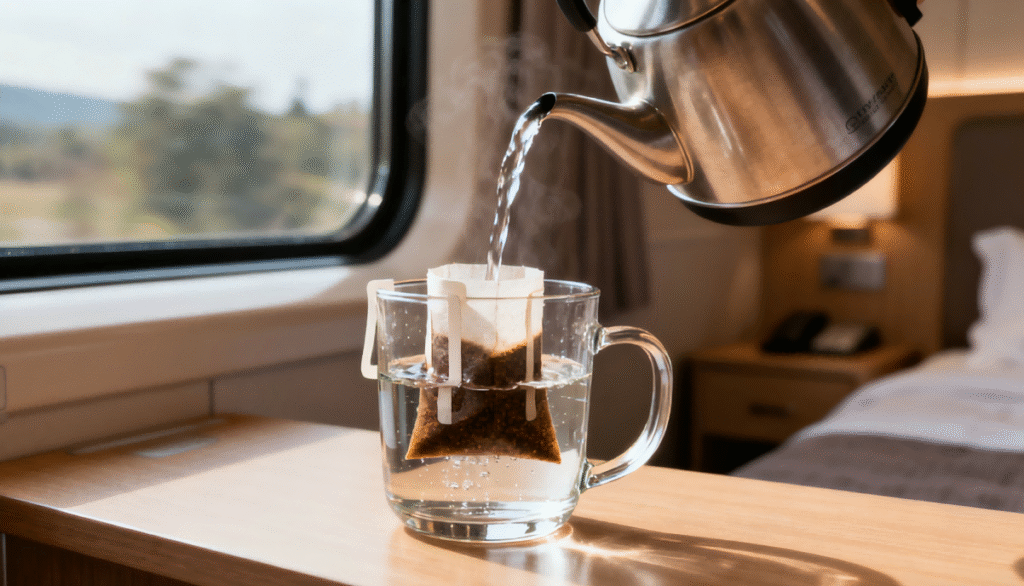
This is the ultimate method for portability, simplicity, and creativity. It’s a game-changing hack for travelers, dorm students, or anyone wanting single-serving brew with virtually no cleanup.
By creating your own single-use “coffee bag,” you turn your coffee capsule into something as convenient as a tea bag. This unique approach needs no special coffee equipment at all.
Part 1: Creating Your DIY Coffee Bag
- Start with a filter. Take a standard, basket-style paper coffee filter. The kind used in cheap, automatic drip machines works perfectly.
- Add coffee grounds. Empty one or two coffee capsules into the center of the flat paper filter.
- Form the pouch. Carefully gather the filter edges, pulling them up and together around the grounds to form a small pouch or sack.
- Tie it securely. Use food-safe string (like cotton kitchen twine) to tie the pouch top tightly. Make sure the knot is secure so no grounds escape. Leave a long string tail, like a tea bag, so you can easily remove it from your mug.
Part 2: Brewing with Your Coffee Bag
- Place the bag in a mug. Put your freshly made DIY coffee bag into your favorite mug.
- Add hot water. Pour hot water over the bag until the mug is full.
- Let it steep. Allow coffee to steep for about 4-5 minutes. You can dunk the bag a few times with a spoon or by pulling the string to move the grounds and encourage better extraction.
- Remove and enjoy. Once coffee reaches your desired strength, simply pull the bag out by its string and throw it away. You’re left with smooth, sediment-free coffee.
We’ve tested this on long train trips and in hotel rooms, and it’s foolproof. The key is using a sturdy filter and tying the string very tightly. It’s the ultimate answer for using coffee capsules without a machine when you’re on the move.
Choosing Your Best Method
With four different methods, how do you decide which one fits you? The best choice depends on your situation, available equipment, and the coffee type you enjoy most.
This table breaks down key differences to help you make quick, informed decisions. Think about what you value most: taste purity, body, convenience, or resourcefulness.
Method | Taste Profile | Equipment Needed | Clean-up | Best For… |
Pour-Over | Clean, bright, nuanced, high clarity | Dripper, paper filter | Moderate (discard filter) | Coffee purists, daily home/office use, appreciating single-origin flavors |
French Press | Rich, full-bodied, textured, robust | French Press | Moderate-High (cleaning the press) | Lovers of strong, bold coffee; those who already own a press |
“Cowboy” Stovetop | Bold, rustic, can be slightly gritty | Small pot or saucepan | Low (rinse the pot) | Camping, power outages, emergencies, when you have zero coffee gear |
DIY “Coffee Bag” | Smooth, similar to steeped tea, clean | Paper filter, string | Easiest (toss the bag) | Travel, dorm rooms, office use, ultimate convenience and portability |
In short, if you prioritize taste clarity and enjoy brewing ritual, choose Pour-Over. If you crave strong, heavy-bodied cups, French Press is your friend. If you need rugged, simple solutions for emergencies, Stovetop method saves the day. And for unmatched convenience on the go, DIY Coffee Bag is the clear winner.
Pro Tips for Better Brews
Mastering the methods is step one. Applying expert tips elevates your machine-less coffee from good to great, ensuring you get maximum flavor from every capsule.
These details separate passable cups from truly delicious ones.
- Master Your Water Temperature: Never use rapidly boiling water. It scorches delicate coffee grounds, creating bitter, burnt taste. The ideal range is 90-96°C (195-205°F). If you don’t have a thermometer, bring water to boiling and let it cool for 30 to 60 seconds before pouring.
- Get the Ratio Right: Standard coffee capsules contain about 5-7 grams of coffee. A good starting point for brew ratio is one capsule for every 150-180ml (5-6 oz) water. If you want stronger, larger mug coffee, it’s always better to use two capsules rather than trying to extract more from one.
- Understand Grind Size: Coffee in capsules is ground very fine. This allows super-fast extraction under high pressure in machines. When using manual methods like French Press, this fine grind can easily lead to over-extraction (bitterness). This is why we recommend slightly shorter steep time and very slow plunging.
- Don’t Skip the Bloom: For pour-over method, that initial 30-second step where you just wet grounds isn’t optional. This “bloom” releases trapped carbon dioxide from coffee, which would otherwise create uneven and sour-tasting extraction. It sets up a much more balanced and flavorful cup.
- Preheat Everything: Coffee loses heat quickly. To keep your brew hot and tasting its best, always preheat your mug, dripper, or French press by swirling some hot water in it before starting. Hot brewing devices lead to better extraction.
Conclusion: Your Coffee, Your Rules
As we’ve shown, coffee machines are convenient, not necessary. The heart of your coffee experience lies in the grounds themselves. With a little creativity, you have power to unlock that flavor anywhere, anytime.
You’re no longer limited by broken machines or lack of counter space. Whether you’re carefully crafting pour-over at your desk, steeping DIY coffee bag on a train, or brewing rustic pot over a campfire, you now have knowledge to make great coffee. Your coffee, on your terms.
As a professional manufacturer specializing in the research, development, and production of coffee machines, we not only offer a diverse product selection but also support OEM/ODM customization to meet the needs of diverse markets and customers. With consistent quality control, fast delivery, and innovative designs, our coffee machines are used by numerous brands and channels worldwide. Whether you're a distributor, wholesaler, or brand owner, we can provide you with reliable solutions to help you grow your business. Contact us to explore potential collaboration opportunities.

Facebook
LinkedIn
WhatsApp
Twitter
Categories: Coffee/Brewing Tips Product Knowledge